Return data to PowerApps from a flow, build lists in a flow, and test a flow with previous run data


Return data to PowerApps from a flow
You can use Microsoft Flow to create logic that performs one or more tasks when an event occurs in a PowerApp. For example, configure a button that creates an item in a SharePoint list, sends an email or meeting request, or creates an online file. You can also use a flow to return data to PowerApps. For example, configure a flow that retrieves data from a web endpoint, a SQL Server, or an Excel file in SharePoint, and then processes that data by using Flow's built-in actions. You can configure any control in the app to start the flow, which continues to run even if you close PowerApps.
Step One
To set up a flow that calls data from PowerApps, first start your flow with the PowerApps trigger.
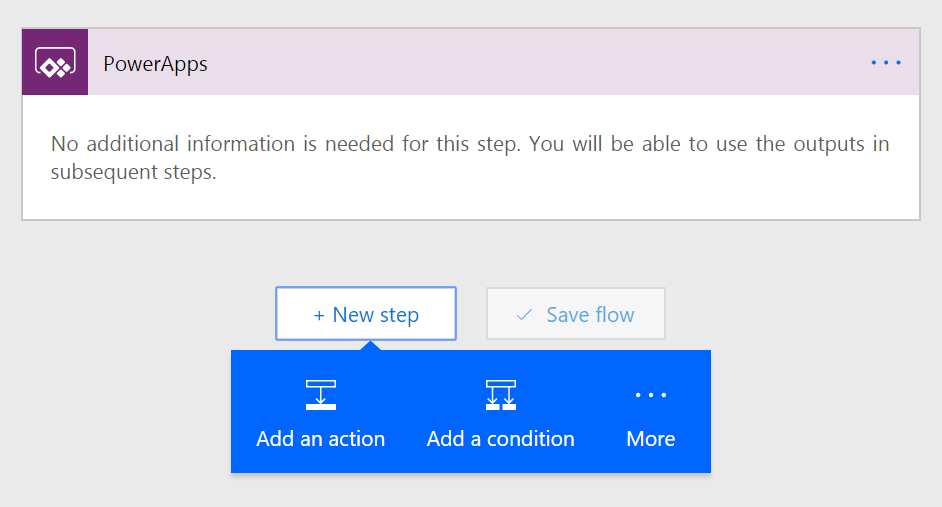
Next, add whatever actions you want to run when your flow is called. Inside these actions you can use the Ask in PowerApps option to collect additional parameters from the PowerApp.
Step Two
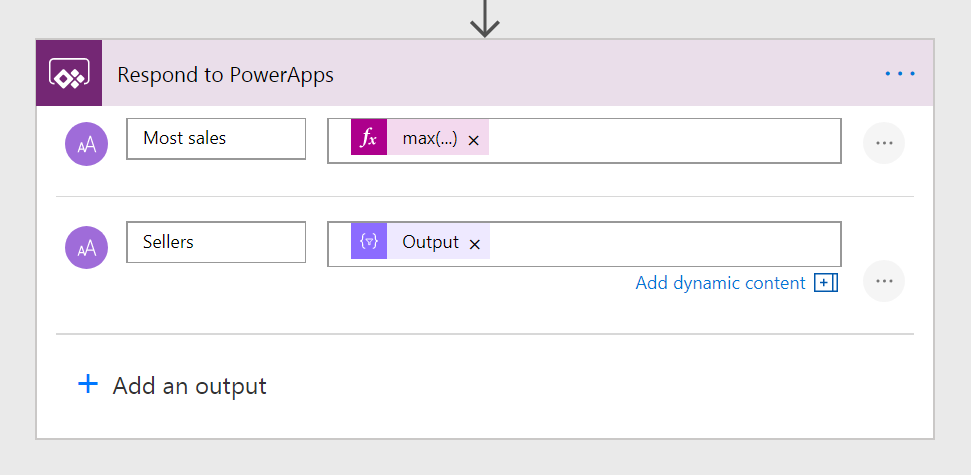
After you have built your flow and collected the data you need, add the Respond to PowerApps action. In this action, define the output fields you want to provide to PowerApps. Name each field, and select Add Dynamic Content to pass in data from the actions in the flow.
Step Three
The last step is to add your flow to the PowerApp in the formula bar. Select the control to run your flow from, and on the Action tab on the ribbon, select Flow. Select the flow you created to add it to the formula bar and pass any parameters the flow requires.

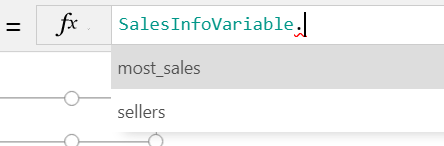
We recommend that you use Set() or UpdateContext() to set a variable that stores the result of your flow. This way if you have multiple values returned from the flow, you can access different properties in various places in your app. For example, the above flow has two properties it returns, most_sales and sellers, and you can use either on a control:
Today, you can return basic types like Text or Email. However, there may be cases where you want to return a list of data to the PowerApp, for example a list of names. In this case, you can use the Join action inside of your flow, and then use the Split function in your PowerApp.
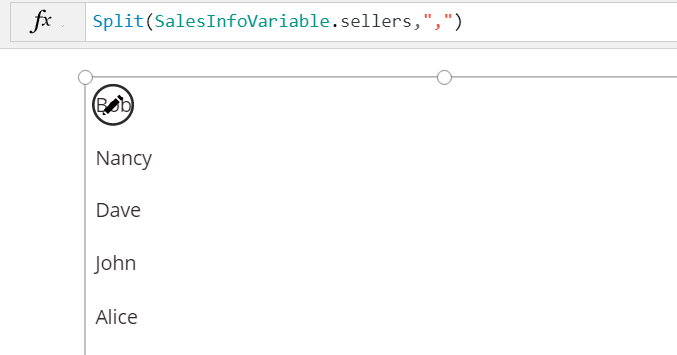
In the above example, you can see how the result of the flow is set in the SalesInfoVariable, and then the gallery is bound to the table output by splitting the names on a comma. If you have an array of objects in the flow, use the Select action first, to choose the property you want to pass to the PowerApp before joining the array.
Add multiple records to array inputs
There are many actions in Flow that take an array as an input. For example, the Send email action has a list of Attachments that can be included with the email. Before, you could either pass one attachment, or, you could generate a list of attachments from the outputs of another action using the Select action. However, there was no easy way to just have two attachments.
In fact, this idea has more than 120 votes on the ideas forum – and we're happy to announce today that, for any action that takes a list as an input, you can add as many items inline that you wish.
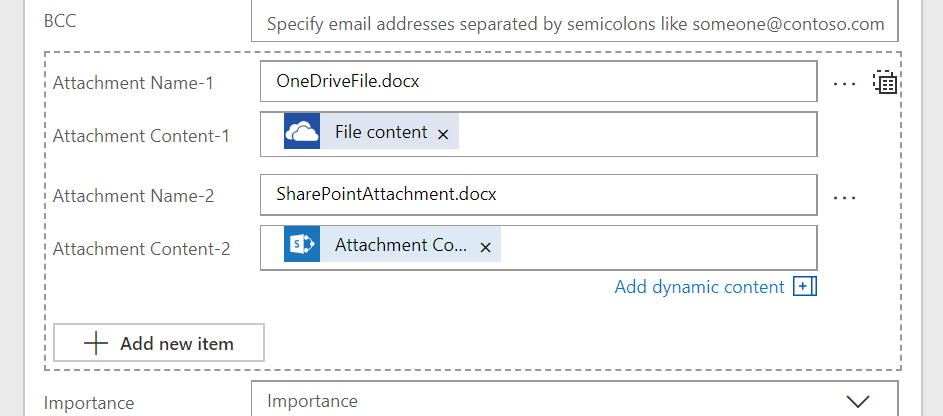
To add a second (or third, or fourth etc…) attachment, just click the Add new item button below the main fields for that attachment. Each time you'll get a new set of the fields for the new attachment (or any other record you are adding). To remove an item, select the "…" menu next to the first field in the record you want to delete.
Test flows with previous run data
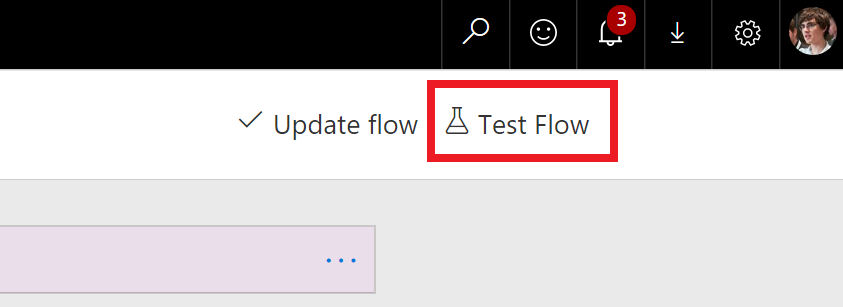
When you are editing a flow that you have run in the past, it can be useful to be able to re-run the flow with the trigger data from a previous run. This gives you a way to verify that your flow now behaves as you expect. This has been possible before by going to the Run history view and selecting Resubmit. Now, to streamline the editing experience, we are adding a Test flow button directly in the designer.
When you select Test flow, you will see a new pane with two options:
- Perform the trigger action yourself. The action depends on what the trigger is – for example, for a button trigger you'll run the flow button, for an email trigger you'll send yourself an email, or for a file trigger you'll upload a file to SharePoint online.
- Use data from previous runs. Here, if your flow has run before, you'll get a list of the most recent runs and be able to pick one to test your flow with.
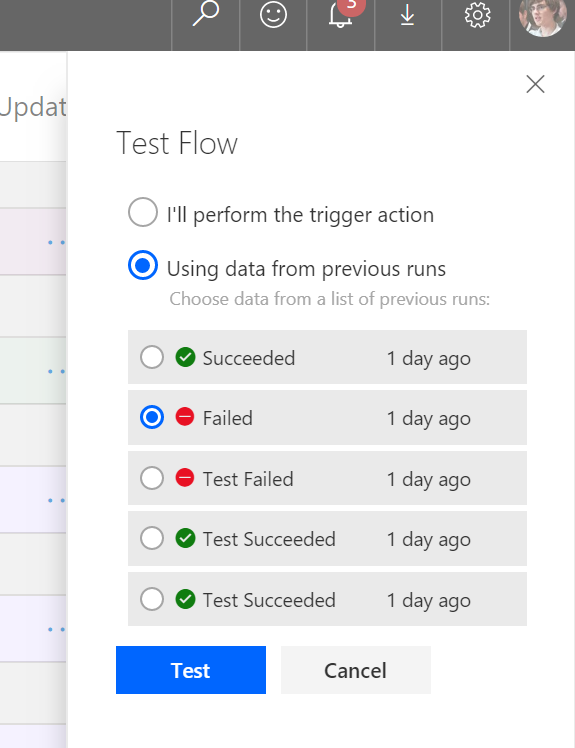
Once you run the flow you'll immediately see the details of the flow running and be able to watch each of the steps execute. Finally, runs started via this route are marked as Tests in the run history view so you can tell them apart from flow runs that were triggered normally.
Access flow details from the workflow() expression
The last feature we added is a new output property called tags to the workflow() expression. The tags contain properties like flowDisplayName and environmentName. This means that – from the flow itself, you can send custom email notifications that link back to the flow. For example, this will create an HTML link back to the flow with the display name of the flow in the title:
<a href="https://flow.microsoft.com/manage/environments/@{workflow()['tags']['environmentName']}/flows/@{workflow()['name']}/details">Open flow @{workflow()['tags']['flowDisplayName']}</a>