Advanced | Flow of The Week: Gathering Local Admin Status from Microsoft Intune


Hey Flow Fans!
This week’s article comes from Max Fritz at SADA Systems, Inc.
Max is an Office 365 and EMS Architect at SADA Systems, Inc. He focuses on improving collaboration and simplifying implementation, and has worked with Office 365 for the past eight years. He is a self-proclaimed geek, passionate about a broad range of security and collaboration tools and can’t stop talking about the technology he loves. Max is the founder and president of the Minnesota Office 365 User Group, and holds MCSA and MCSE Microsoft certifications. Max can be found speaking at Microsoft 365 conferences all over the US. You can find Max on Twitter @theCloudSherpa (https://twitter.com/TheCloudSherpa), or on LinkedIn (https://www.linkedin.com/in/maxafritz/).
https://image.ibb.co/gAqprL/intune3.png

Background
For those organizations that have fully adopted the Modern Workplace and have gone “cloud only”, you are most likely using Windows 10 on your workstations and managing those workstations with Microsoft Intune. While Intune is good at managing settings (and always getting better), there are limited reporting options available.
One of the most common requests I encounter is to get the status of local admins on the machines managed by Intune. The below Flow will walk us through gathering that information and presenting it to an administrator.
Process
The following steps will be a part of this process:
- Deploy a PowerShell Script from Intune
- Device gathers data and kicks off Flow using a REST API call
- Flow writes data to SharePoint
Prerequisites
- Flow subscription
- Intune subscription
- Windows 10 devices in Intune
- OneDrive or SharePoint location to store Excel workbook
Steps
SharePoint
For this example, we’ll be using a SharePoint list to store the data, however, you can adapt the below steps and store the data in an Excel workbook if you prefer.
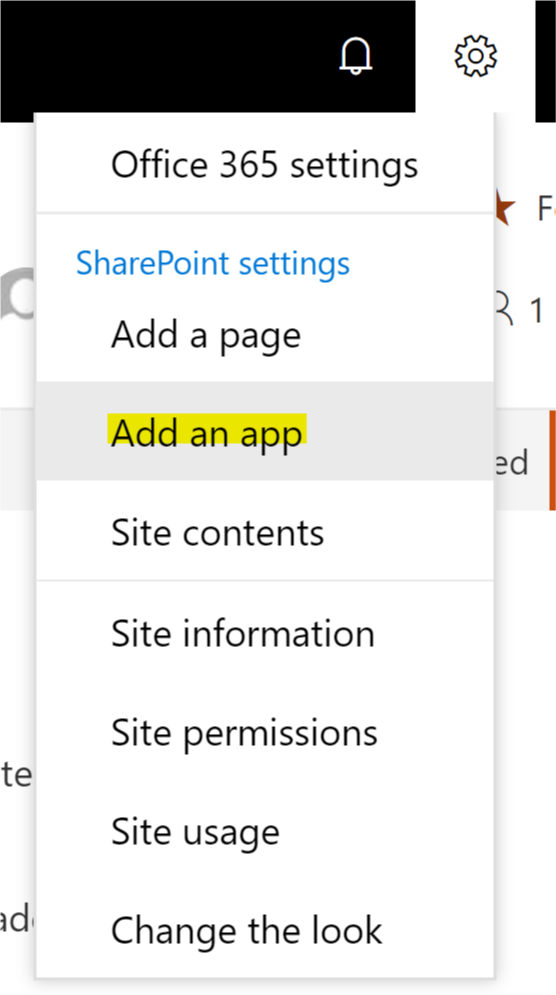
- In your SharePoint site of choice, go to Add an app.
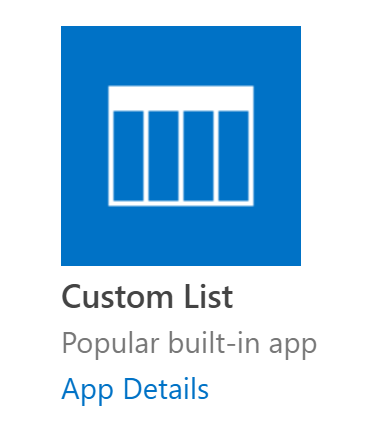
- From the options, select Custom List.
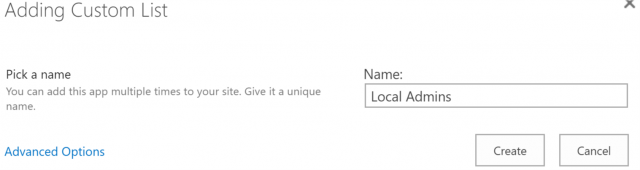
- Give your list a name. We’ll call ours “Local Admins.”
- Navigate to your new list and add 2 columns named “Computer Name” and “User Name” by repeating the below steps:
- Click Add column.
- Choose single line of text.
- Fill out the column name and click Save
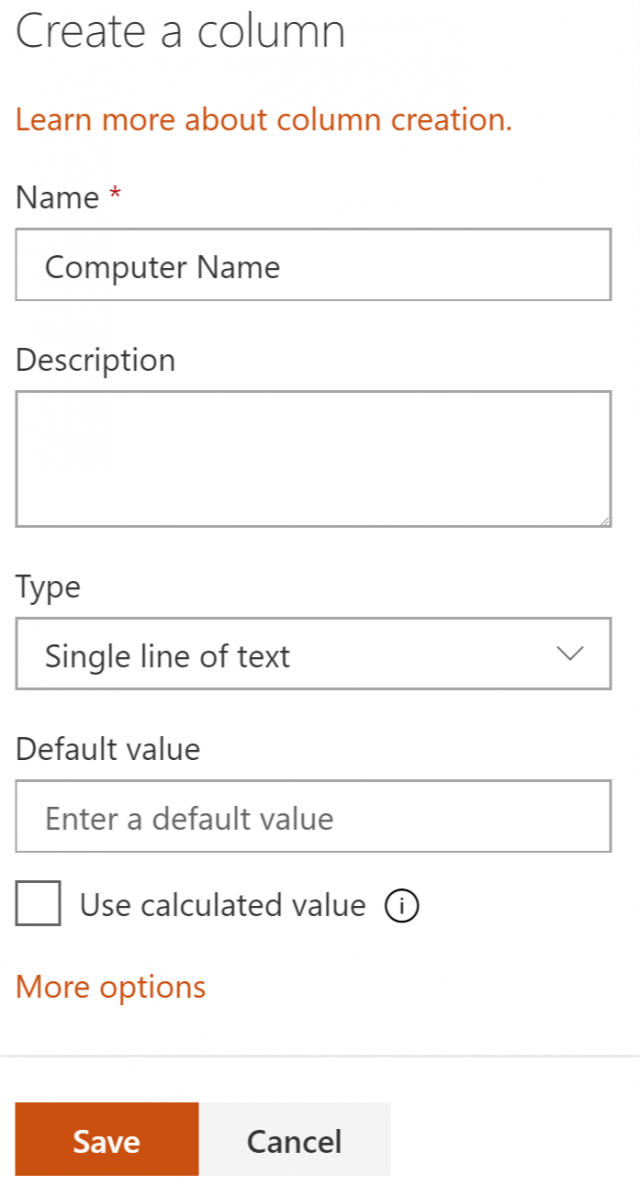 .
. - Make sure to repeat for the second column.
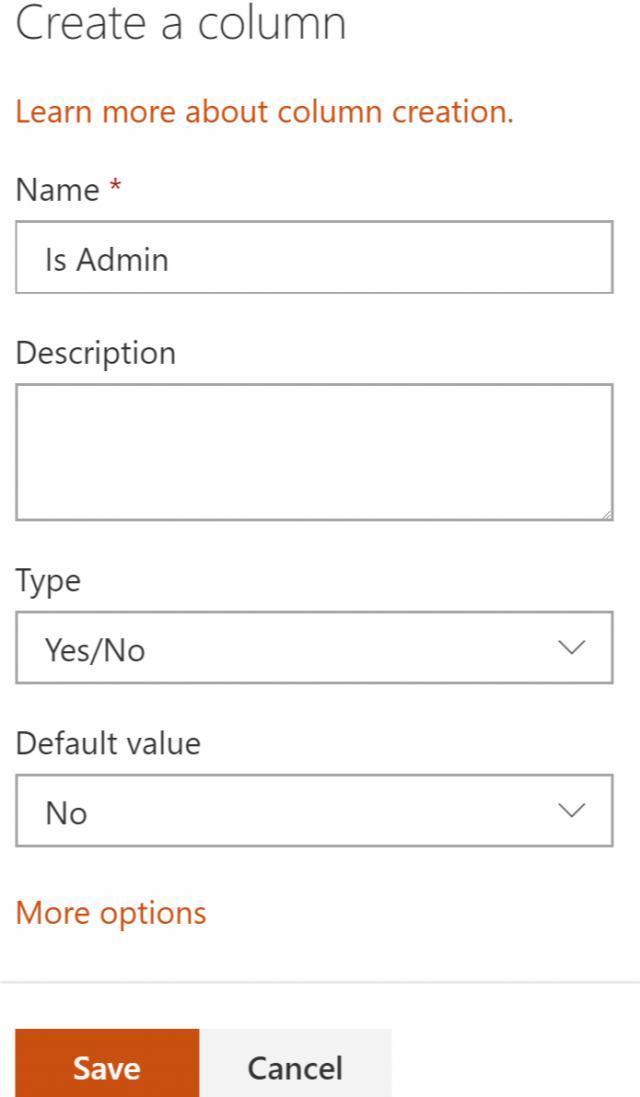
- Click Add column.
- Add another column, this time of type Yes/No, called “Is Admin”:
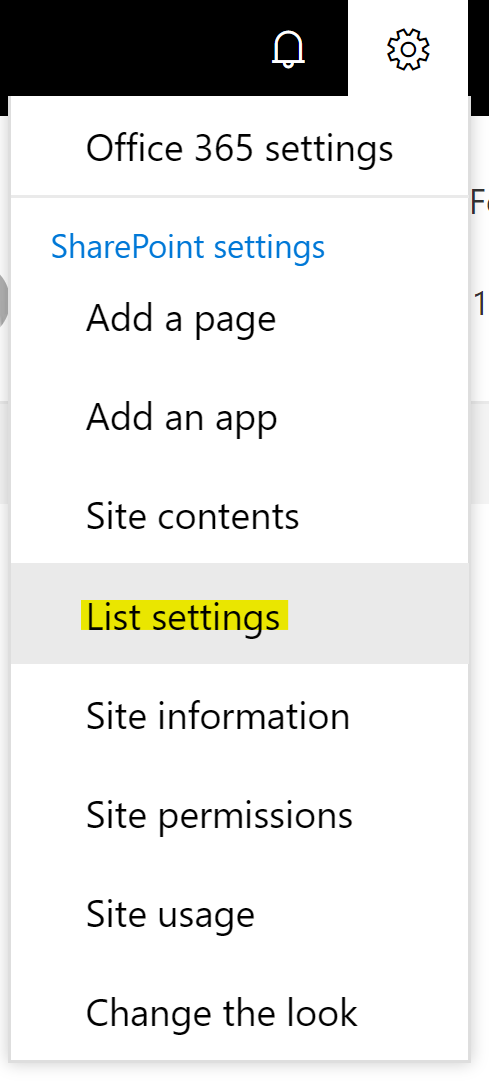
- Open the SharePoint List settings:
- Scroll down to Views and click on All Items.
- Under Columns, click the checkbox next to Modified. This will allow the modified date to show in our view.

- Scroll to the bottom and click OK.
- Your SharePoint list should now look like this:


 .
.


Flow
- Navigate to https://flow.microsoft.com/ and log in.
- Get started by Creating a flow from blank
- Pro Tip: Create this as a Team Flow so your team can manage it with you!
- Select Search hundreds of connectors and triggers.

- Search for When a HTTP request is received, and select it as your Trigger.

- Under Request Body JSON Schema, enter the following:


{
“type”: “object”,
“properties”: {
“Device”: {
“type”: “string”
},
“User”: {
“type”: “string”
},
“IsAdmin”: {
“type”: “string”
}
}
}

- Select New step
- Search for and select Initialize variable.
- Fill out the fields as follows:
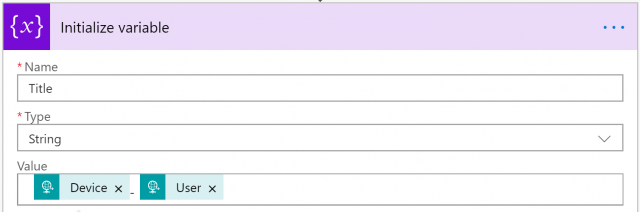
We will need to refer to this Device/User combination a few times so the variable will help us throughout the Flow. - Add a New step again of type Initialize variable.
- Fill out the fields as follows:
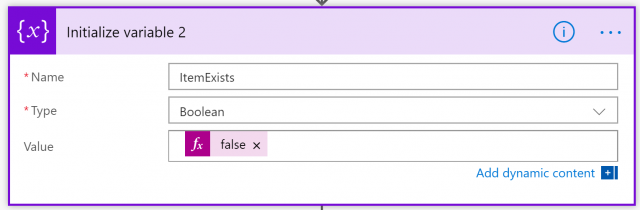
- To fill in the Value field, search for “false” in the Expressions menu:
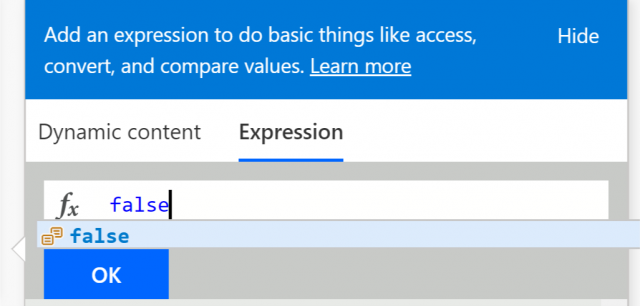
- To fill in the Value field, search for “false” in the Expressions menu:
- Add a New step of type Get Items (SharePoint)
- Fill out the fields as following (customize the Site Address and List Name to match your SharePoint list):

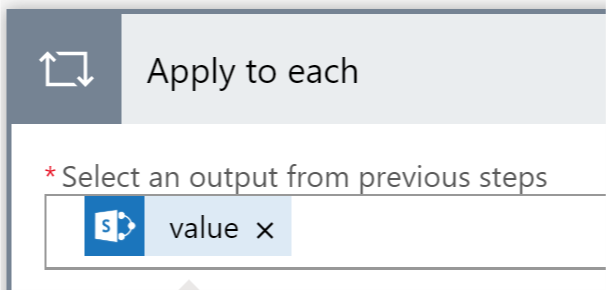
This will allow us to see if there is an existing entry for the Device/User combination. - Add a New step and select Apply to Each:

- For Select an output from previous steps, choose value:
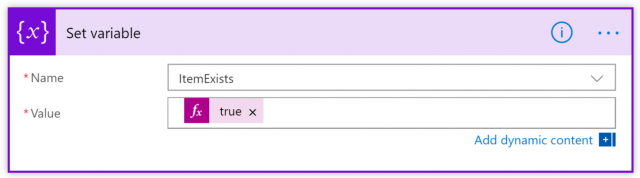
- Click Add an action and find and select Set a variable.
- Fill out the fields as following (using the expressions menu to fill in “true”):
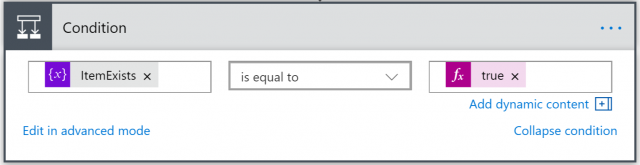
- Now that we’ve determined if an item exists already, click New step at the bottom (outside of the loop), and choose Condition:
- Fill out the condition as follows:
- Under If yes (which indicates an item already exists with this Computer/User combination), add an action of Update Item from the SharePoint connector:
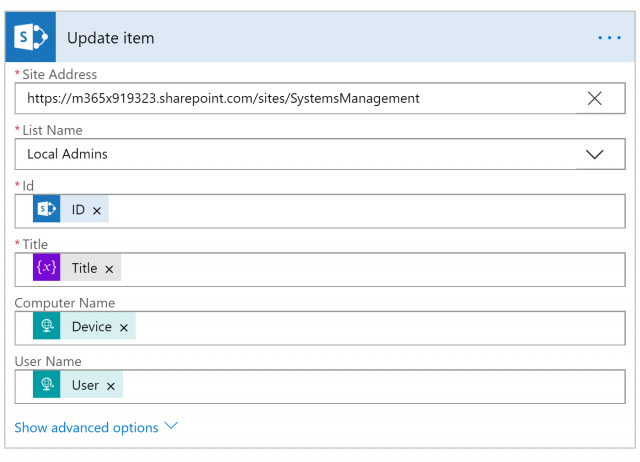
NOTE: by selecting ID for Id above, Flow will automatically put this action in a loop. You can safely leave that (you should not try to remove the loop). The action will still only occur once. - Under If no (indicating no item exists in SharePoint for this Computer/User combination), add another Condition, and fill out as follows:
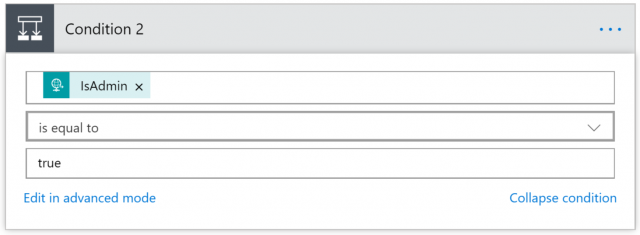
NOTE: Use the actual word “true”, not an Expression as in prior steps. - Under the new Condition, under If yes (indicating the user is a local admin), add an action of Create Item from the SharePoint connector:
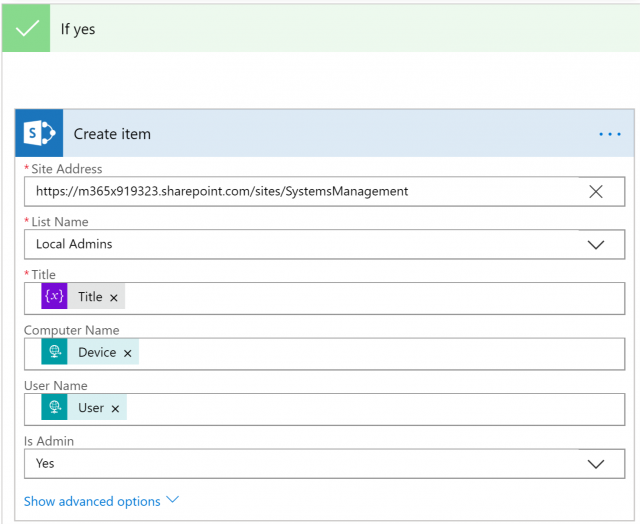
- Under the new Condition, under If no (indicating the user is not a local admin), add an action of Create Item from the SharePoint connector:

- Save your flow, and scroll back up to the top.
- For When an HTTP Request is received, you should now see a URL next to HTTP POST URL:

- Save that URL; you will need it in a later step.


PowerShell
- Create a PowerShell script with the following content and name it “CheckAdmin.ps1” (you can use NotePad if you prefer):
- Make sure to add your HTTP POST URL from above inbetween the quotes on the second line.
#The HTTP POST URL from Microsoft Flow
$URI = “” #ADD YOUR URL HERE
#Get Current ComputerName
$computer = $env:computername
#Get Current UserName
$CurrentUser = whoami
#Get User’s Local Group Membership
$CurrentUserGroups = whoami /groups
#Check if current user is a member of the Local Admins group
$CurrentUserAdmin = $CurrentUserGroups -like “*S-1-5-32-544*”
#If user is an admin
if ($CurrentUserAdmin) {
$body = ConvertTo-JSON @{Device = $computer; User = $CurrentUser; IsAdmin = ‘true’}
#Start Flow
Invoke-RestMethod -uri $URI -Method Post -body $body -ContentType ‘application/json’
}
#If user is not an admin
else {
$body = ConvertTo-JSON @{Device = $computer; User = $CurrentUser; IsAdmin = ‘false’}
#Start Flow
Invoke-RestMethod -uri $URI -Method Post -body $body -ContentType ‘application/json’
}
- Save the PowerShell script locally on your computer.
Intune
- Navigate to your Intune portal by going to https://portal.azure.com/ and selecting Intune.

- Select Device Configuration.

- Select PowerShell Scripts.
- Select New, and fill in the information:
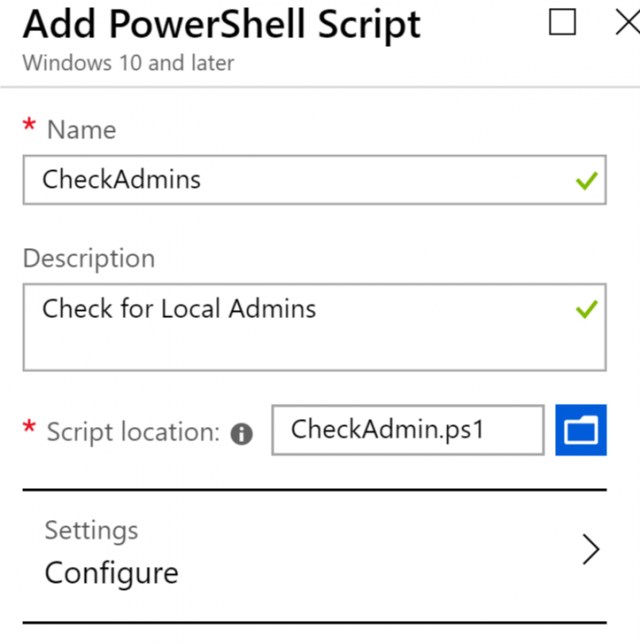
- For Script location, navigate to the PowerShell script you saved earlier.


i.Pro Tip: Keep a backup copy of this script. Intune does not allow you to re-download it.
- Click on Configure, and match the following settings:

- Click OK, and then Create.
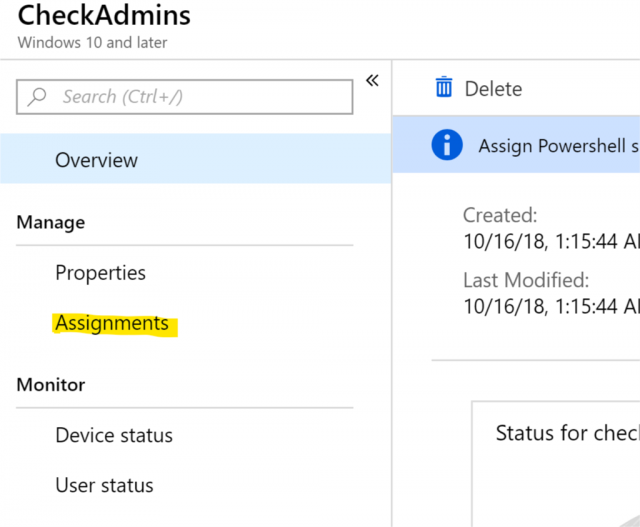
- On the next screen, click Assignments:
- Click on Select groups
- At this point, select a group of Users that you want this script applied to.


i. It is important that the script is not applied to a group of Computers.
- Click Select, and then Save.
At this point your script will begin running for the users assigned. It could take 24 hours for data to start populating.
Final Thoughts
The way Intune handles PowerShell scripts means this will run a single time per user per logged in PC. This is great to collect a one time snapshot of local admin status, but if you want to run it again, just simply repeat the Intune steps above again! The Flow is already built to handle updates to existing list entries if you choose to run it multiple times.
Additionally, consider integrating the SharePoint list with PowerBI or alerting to get better visibility into this data.
Also, consider this solution for any data you want to gather from your Windows machines. You could grab application installations, disk health, and more! Just remember that every time this script runs on every machine, it will kick off a Flow, counting against your runs per month.
While not a perfect solution, hopefully, this gives you greater insight into your Intune-managed environment!
Thanks for reading!