Working with Dates and Times inside of your flows


Last month we announced new actions and expressions to help you work with dates and times. Read more today, to learn about how to use these features.
Send an email with formatted times
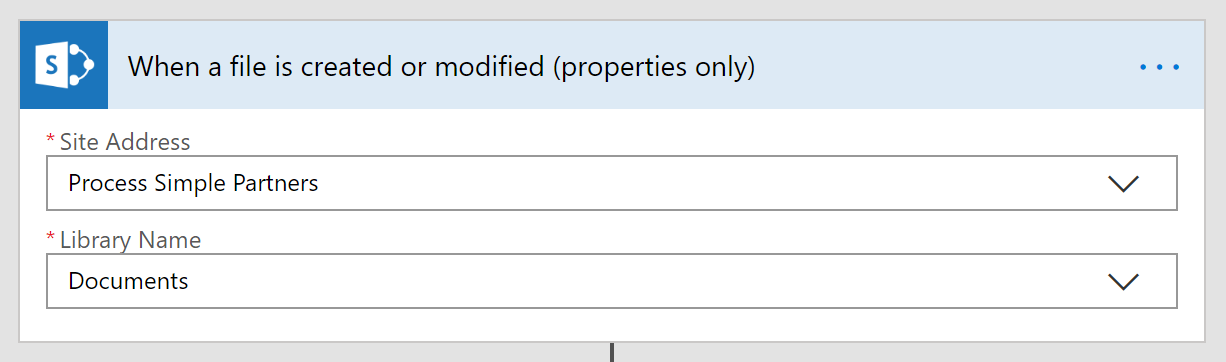
One common scenario is to send an email about files created in a OneDrive or SharePoint list. You want the created time text in the email to be in the right time zone for your company. However, all times in Microsoft Flow are in Universal Time (aka, UTC or GMT) by default. To get started, let's create a Flow from blank with the When a file is created or modified (properties only) trigger:
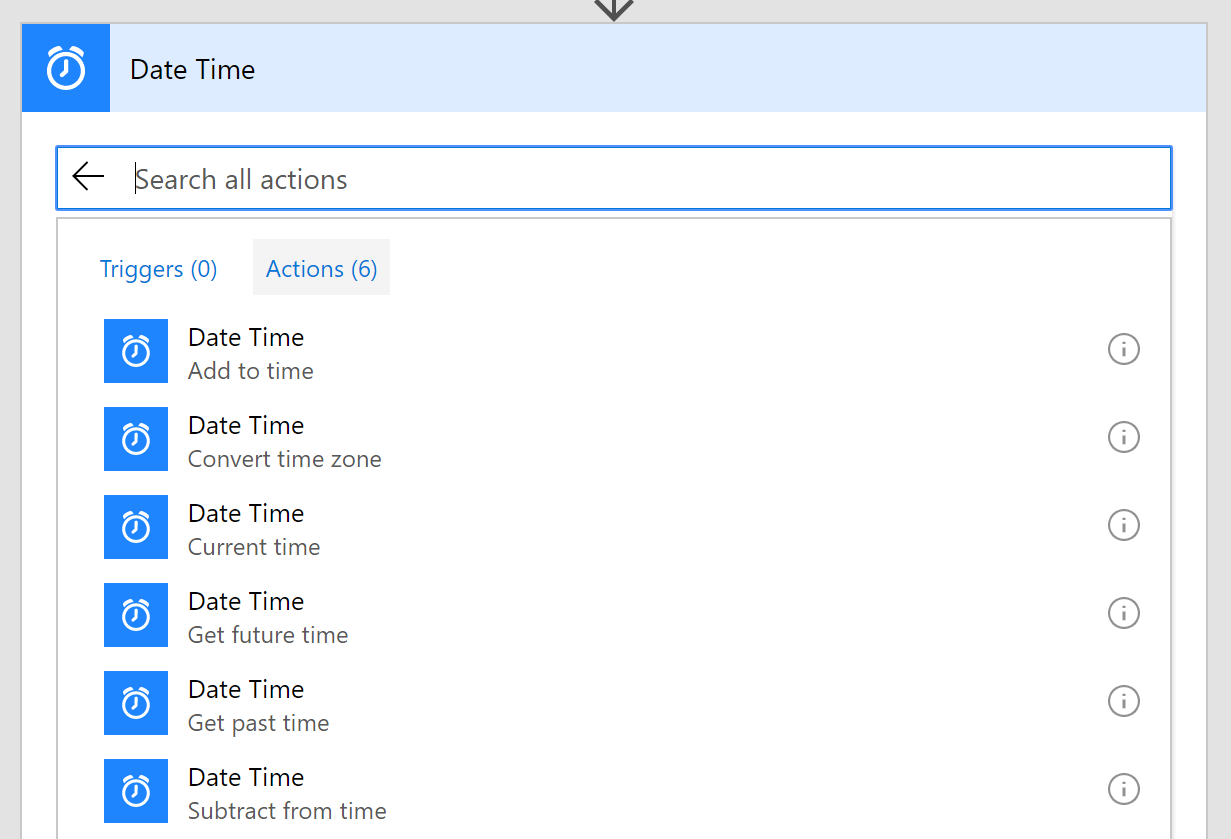
Now, select New Step and Add an Action. You will be given a lot of options – we support over 300 different actions today. To find the actions that work with dates and times, search for Date Time and select that connector. You will see the six actions that we have today:
In this scenario, let's select Convert time zone. In the Base time property select Created from the Add dynamic content menu – this will contain the time the file was created in SharePoint, in UTC. Note that all times output by any action are in UTC.

Thus, for Source time zone select UTC. For Destination time zone select the time zone that your organization uses. Finally, you can choose a friendly format string to include in your email. I like the General date/time, which looks like: 6/15/2009 1:45PM.
Second, you'll want to repeat this same process for the Modified time of the file (add another Convert time zone action, but this time select Modified from the Dynamic content).
Finally, add an Send an email action. First, fill out who you want the email to go to, and the subject of the email. Then in the Email body look at the Add dynamic content menu and you'll see Converted time for each of the two actions that you added:
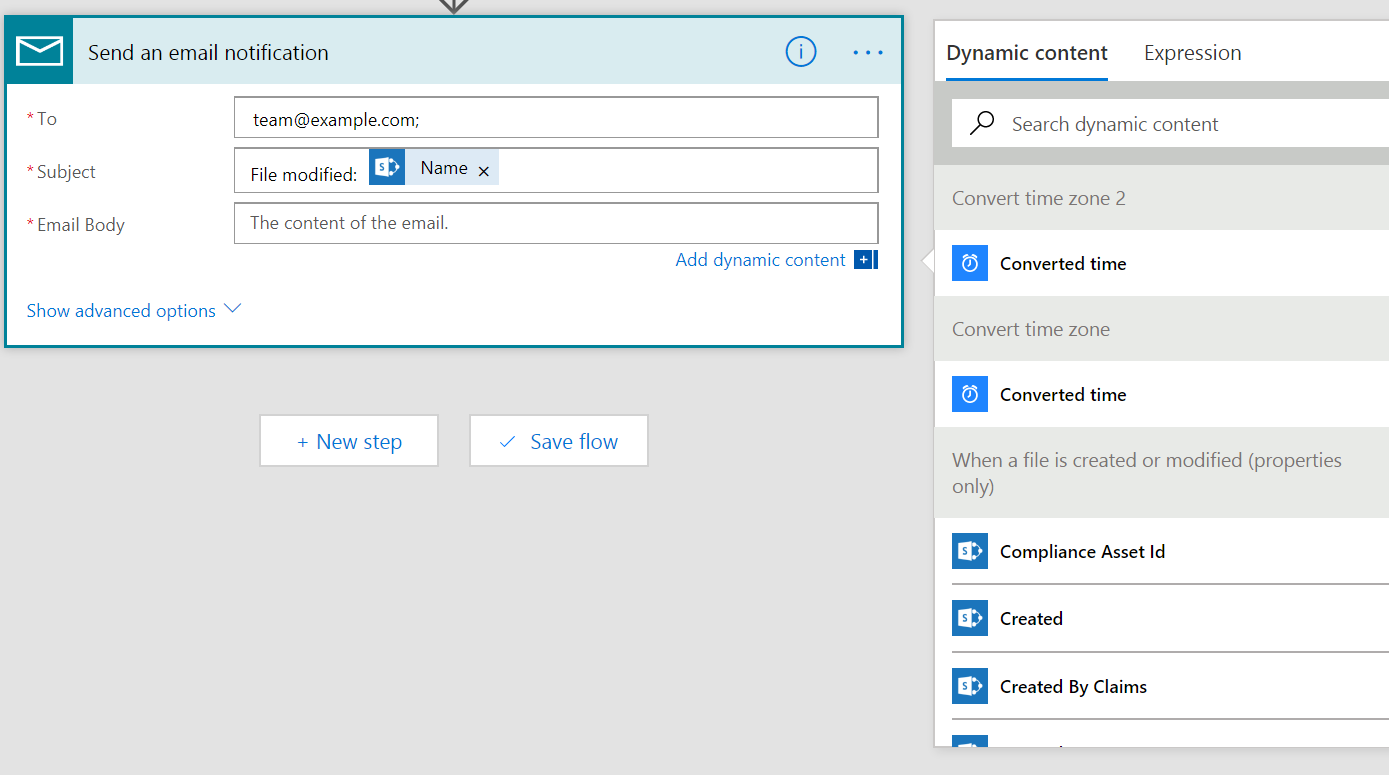
You can select both items to put them into the body of the email. With all the various properties it could look like this in the Flow designer:
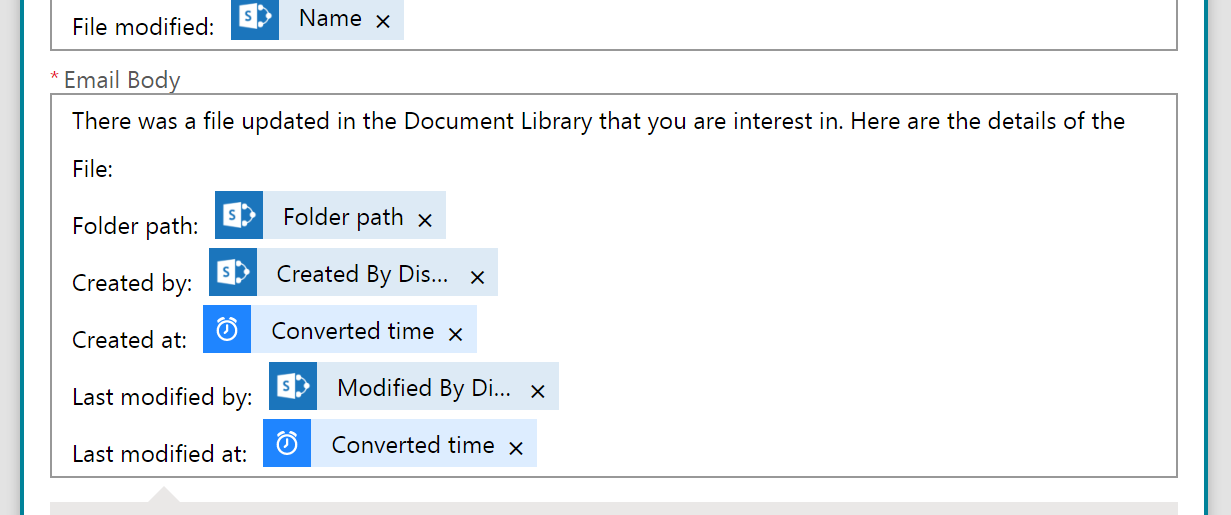
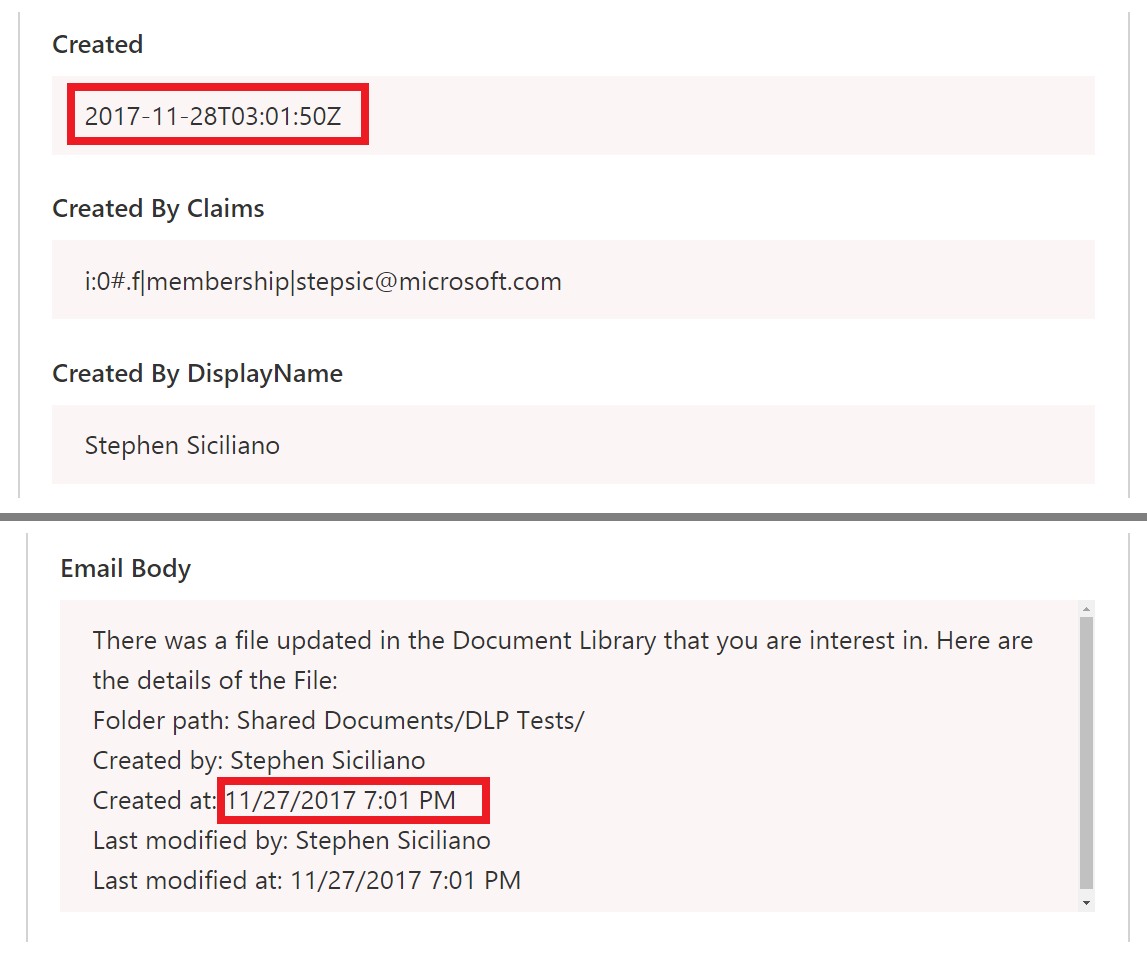
Save your flow! Now, when you add a file to document library, you'll get a new email that looks like this (showing the File properties on the top, and the actual email content on the bottom), notice the formatted date times that are in Pacific Time, not UTC:
Adding to and subtracting times
Another common ask is to create a relative time in your flow – for example, to create a task that is due at the end of the day. We will use the new options in the Recurrence trigger to start this flow at 8am every weekday. Like with the first flow, create from blank. This time, select the Recurrence trigger.
For the Recurrence pattern we want to select a Frequency of 1 Week (this may be counter-intuitive because the flow will run more than once per week1). Next, select Show advanced options and choose the time zone of your business. Then, under On these days select the weekdays, and finally At these hours select 8.

You should now see a preview that says Runs at 8:00 on Monday, Tuesday, Wednesday, Thursday, Friday every week.
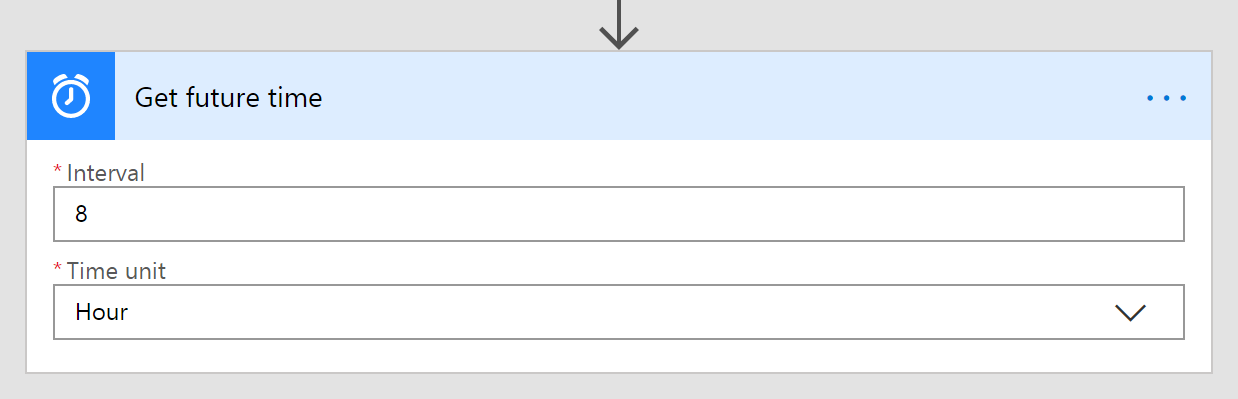
Now you can select New Step and Add an action. In the search box enter Get Future Time. For this action you'll choose how many hours in the future you want the task to be due:
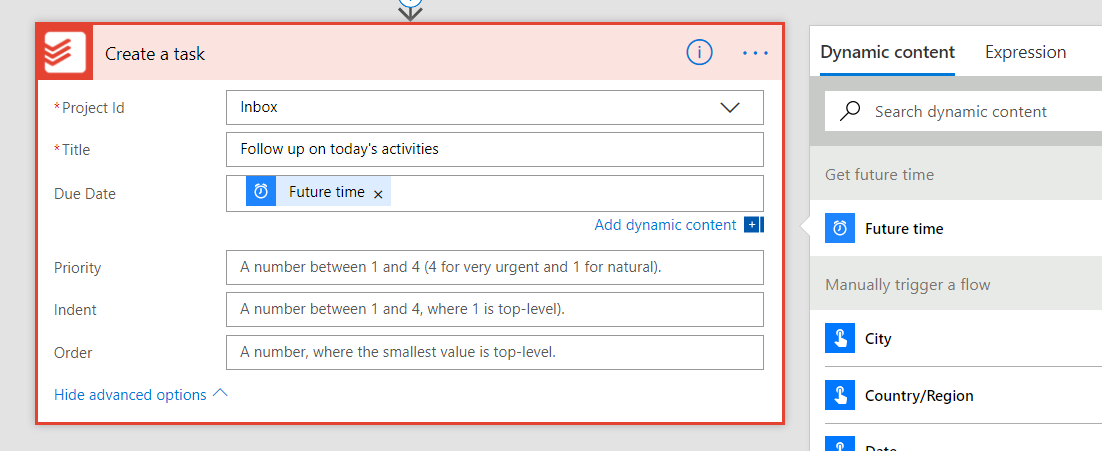
Finally, you can add the task. Add an action and select where you want to task to be (for example Todoist). First, you will provide a Subject. Then, select Due Date and open up Add dynamic content. Here, you'll see the output for Future time. Select that and it'll be included as the due date. You're all set – now each weekday you'll get a new task due for you at the end of the day.
We hope you found these examples helpful, if you have any questions about how to work with Dates and Times, please reach out to us on the community.
1 The recurrence frequency, when you use the advanced options, indicates how often the overall recurrence pattern repeats. Because we want the same pattern each week, the Interval and Frequency are set to 1 week. Then, inside of each week, you can have multiple days, or even hours, for the trigger to run at.