Using the Power Platform to Automate the Classification and Validation of US Vaccination Record Cards


Hello Automation Enthusiasts! My name is John Straumann and I am an Automation Specialist with the Mighty South region here at Microsoft.
In this post we will learn how to easily and quickly build a solution to automate the validation and data extraction of COVID-19 vaccination cards. We will use vaccination cards from the US, but the same steps can be used for vaccination cards or documents from other countries. We are going to go step-by-step to build an image classification model, an information extraction model, and then use those models in a Power Automate automation.
We will seek to demonstrate the tremendous value the Power Platform can provide for Microsoft Customers, in that every step we will see is part of the platform, and can be performed by a Citizen Developer, i.e., professional coding skills NOT required!
The solution showcased in this article uses several components from the Microsoft Power Platform:
Power Automate: lets users create automated workflows between applications and services.
AI Builder: a Microsoft Power Platform capability that allows you to easily add intelligence to your automations and apps and predict outcomes to help improve business performance without writing code.
LOBE: Lobe helps you train machine learning image classification models with a free, easy to use tool. Just show it examples of what you want it to learn, and it automatically trains a custom machine learning image classification model that can be shipped in your app.
In addition to common scenarios addressed by AI Builder such as Invoice and PDF processing, lately we are seeing requests from customers to help with the automated processing of COVID-19 vaccination cards. One such scenario we saw recently was a customer who had employees emailing COVID-19 vaccination cards, and the customer wanted the cards analyzed for completeness of information, and then have the card document stored to a central location on their intranet. Please note that such a scenario could have implications regarding the storage of Personal Health Information, so please be sure your organization understands and complies with all local, state, and federal laws regarding such information. In this example all of the personal information on the cards is simulated.
The solution follows these process steps:
- A Power Automate automation flow scans Outlook for incoming emails with COVID cards attached. The automated flow retrieves the attachment from the email, and if the subject is “COVID Vaccination Card” then uses an AI Builder model to determine if the attachment is a COVID-19 Vaccination card
- If yes, the information from the card is extracted using the AI Builder model. If no, the automation can either stop or report an error, in this example we will simply stop processing.
- The automation then uses an Image Classification model to detect whether the COVID-19 vaccination card has a QR code or not.
- If the card has a QR code, an AI Builder model scans the card and extracts the information of the card, validates it, and saves the card to OneDrive for Business. At this point the automated flow could connect to a service and validate the QR card, depending on what services are available in the area.
- The final step is an AI Builder model scans the card and extracts the information entered on the card, validates the saves the card to OneDrive for Business.
So, let’s look at how this example was built.
Building an image classification model to classify vaccination cards with or without QR codes
Step 1: Obtain some sample COVID Vaccination Card images. You can download sample cards here . Be sure to get at least 5 cards with QR codes, and 5 cards without QR codes, and fill in the relevant information with demo data as shown:


Step 2: Build your LOBE prediction model. Go to https://www.lobe.ai/ and download and install the Lobe desktop app. Once installation is done, run the Lobe application and select New Project.

Step 3: Click Import and browse to the directory where the training images are stored on your local hard drive.

Step 4: Click “Import Images from your Computer”

Step 5: Lobe classifies images according to Labels, in this example we are using 2 simple labels: QR and NOQR. Select the Images for the QR label and click Open.

Step 6: Label each Card with a QR Code image with the QR label


Step 7: Follow the same steps and import and label the NOQR images.


Step 8: This screen shows what the LOBE app should look like when you’re done. Next, we will export the model for use in Power Automate, click Use.

Step 9: Click Export

Step 10: Click Export your model to AI Builder

Step 11: You’ll be asked to sign in

Step 12: Pick your account

Step 13: Click Continue at this prompt

Step 14: At this prompt, select the Check Box and Click Open

Step 15: Name your Model, pick your environment, and click Export.

Step 16: Click “Optimize and Export” or just click “Export”, in production you should always optimize the model, however since this is a demo/lab it’s not necessary.


Step 17: Click Close

Step 18: Go to Power Automate on the Web: Microsoft Power Automate | Microsoft Power Platform, expand AI Builder (1.), and your Model should show up (2.). If you do not see your model, ensure you are in the same environment as the Model was published to (3.)

Now the LOBE image classification model is ready to be used in an Automation. The next step is to build and train our COVID-19 vaccination card form processing model in AI Builder.
Building a form processing model to extract the information from the vaccination cards
The first step in defining an AI Builder form processing model is to determine the fields you need. Looking at our image of a COVID-19 Vaccination card:
We can define our needed fields list as:
- Header
- LastName
- FirstName
- DOB
- FirstDoseProduct
- FirstDoseLot
- FirstDoseDate
- SecondDoseProduct
- SecondDoseLot
- SecondDoseDate
- FirstDoseSite
- SecondDoseSite
With our fields list defined, we can build our model in AI Builder. The steps are:
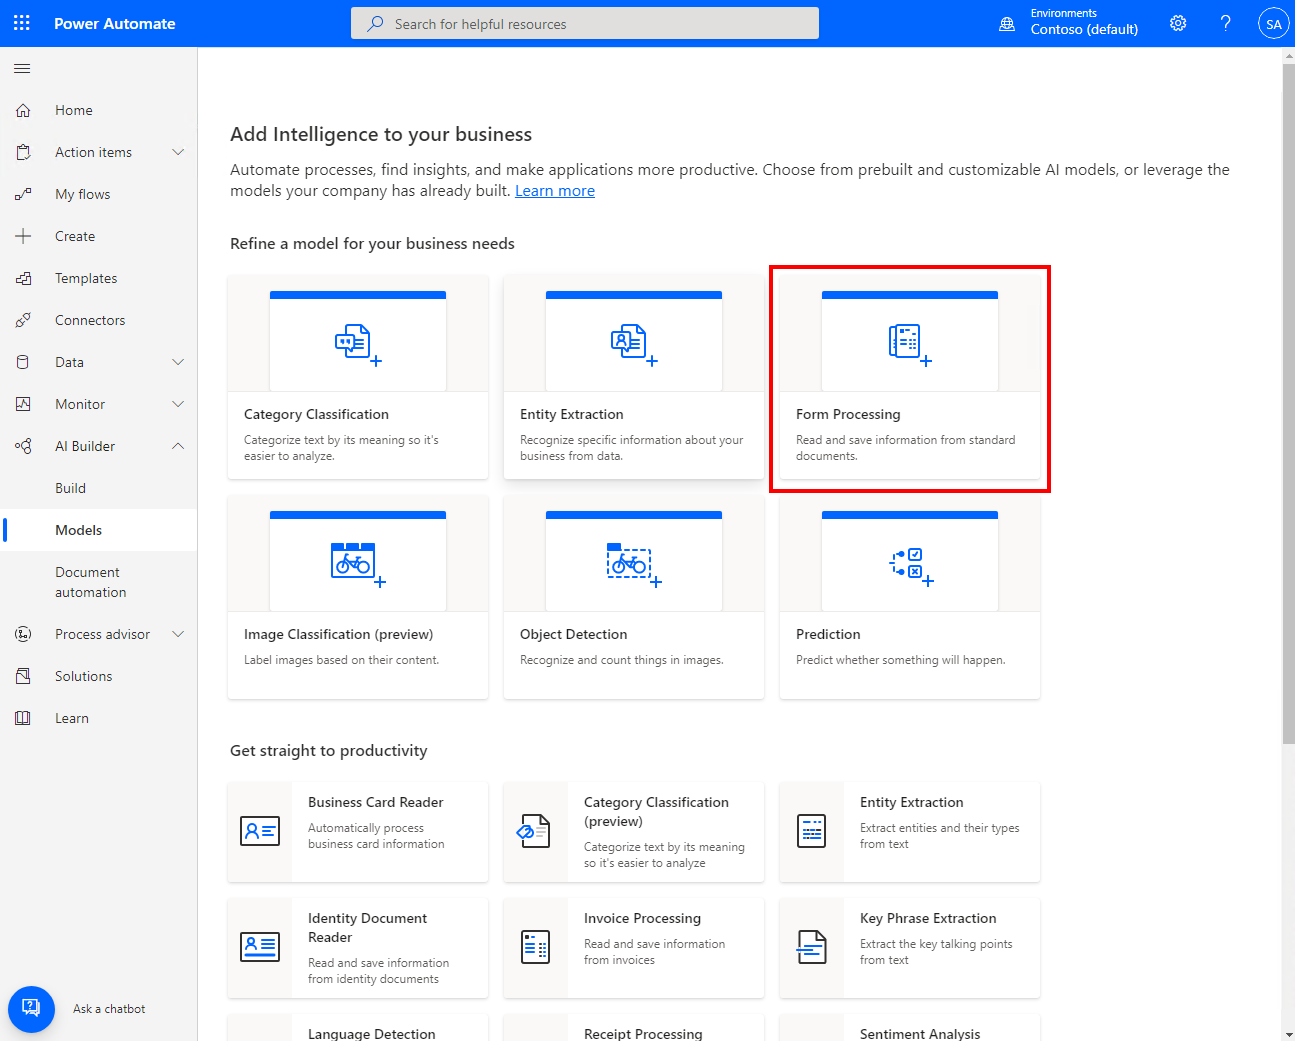
- Login to Power Automate, expand AI Builder in the left nav, select “Build”, and then select “Form Processing”
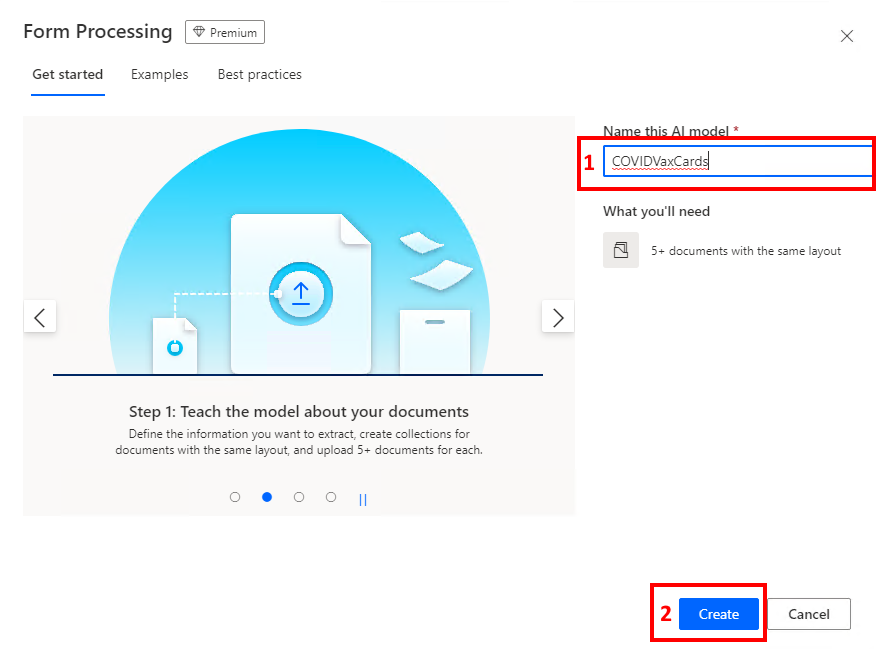
- Type a descriptive name (1), then select Create (2)
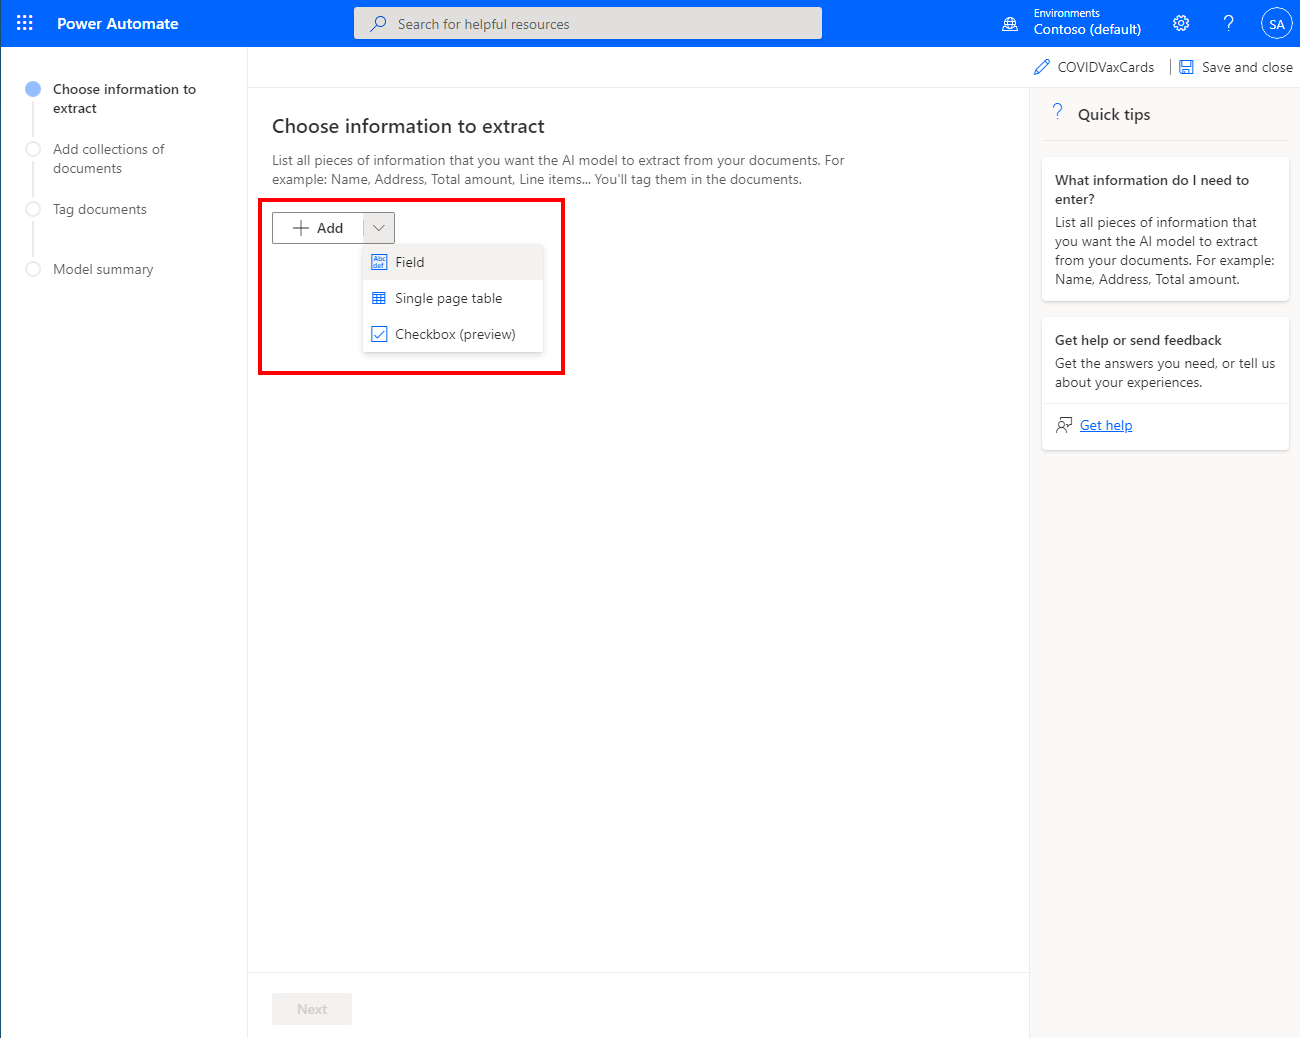
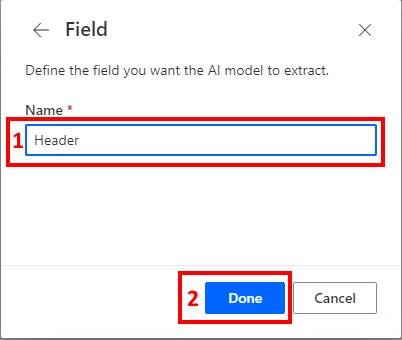
- We need to set up an element for each of the fields we defined. So, for each field, select the Add drop-down, and select Field.
- Enter each name (1), then select Done (2) and repeat the steps until all the fields are defined
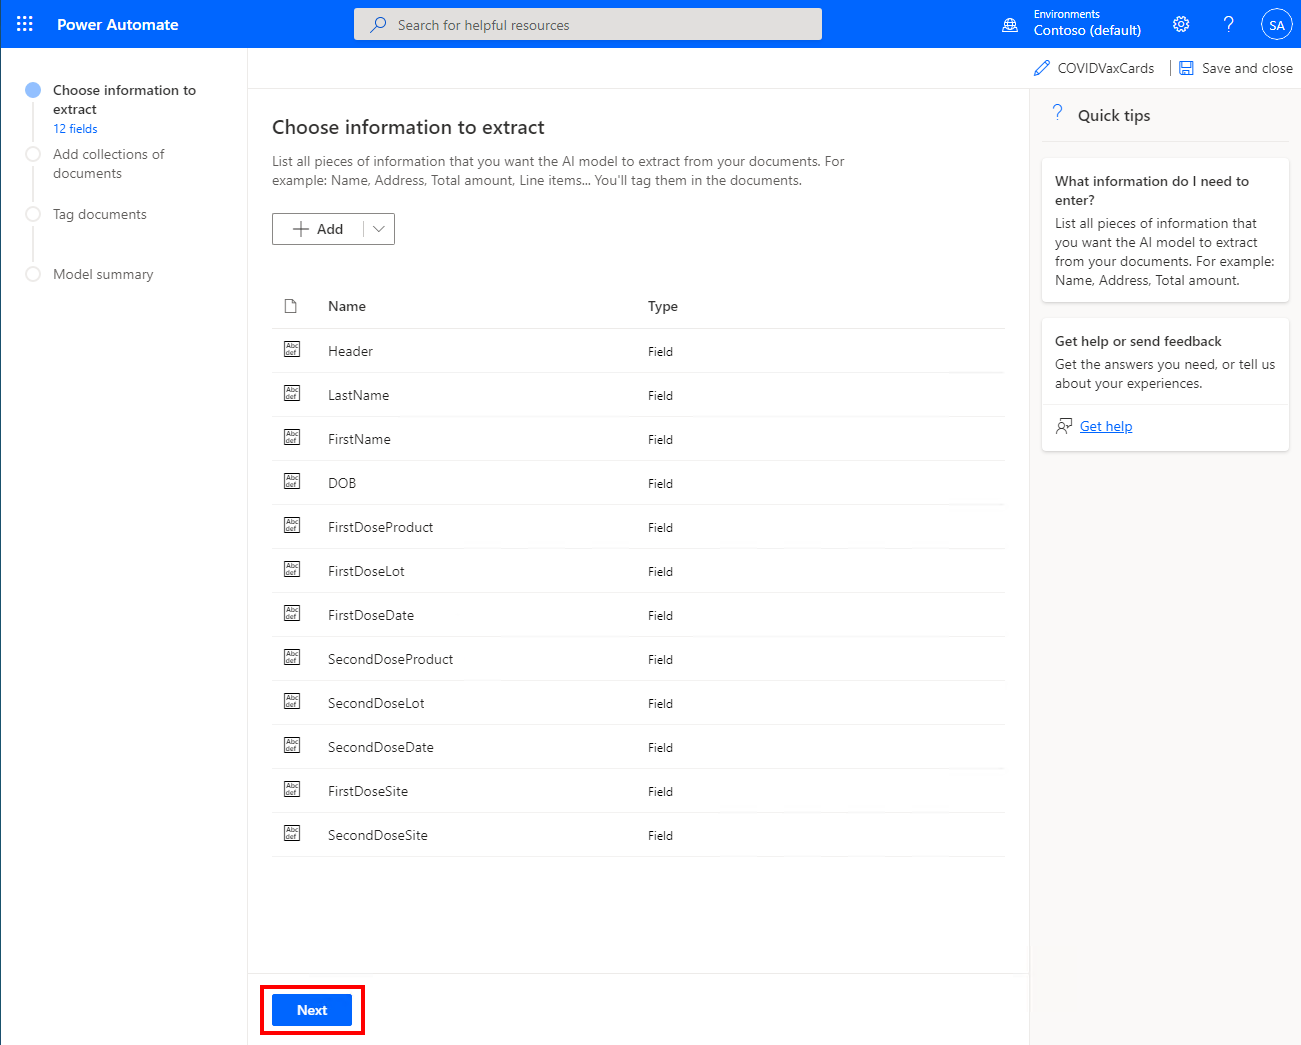
- When you are done defining fields, the screen should look like this screen, select Next
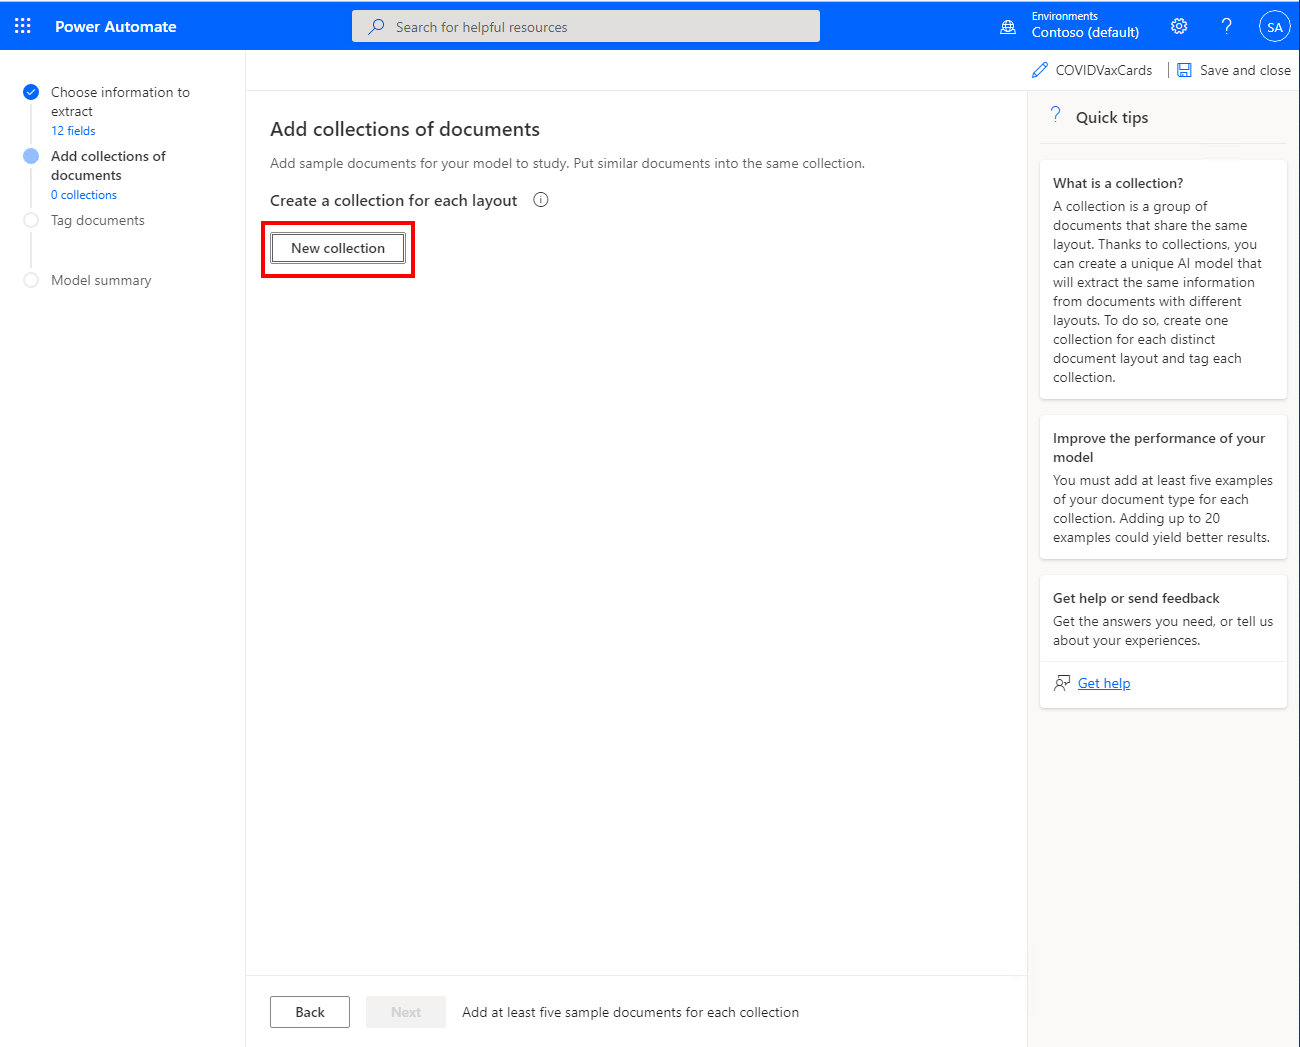
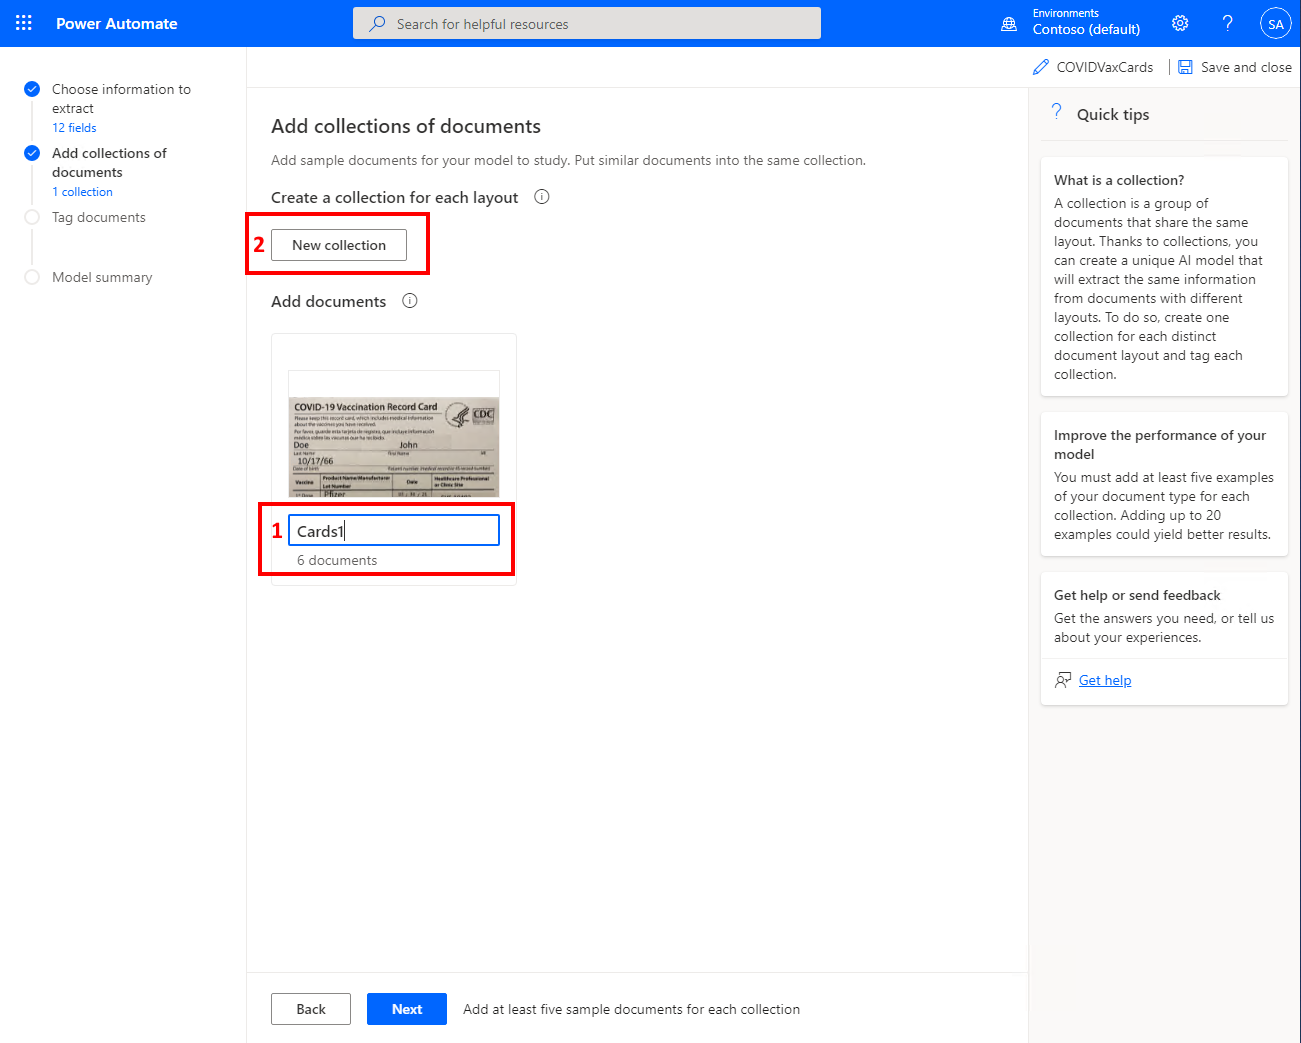
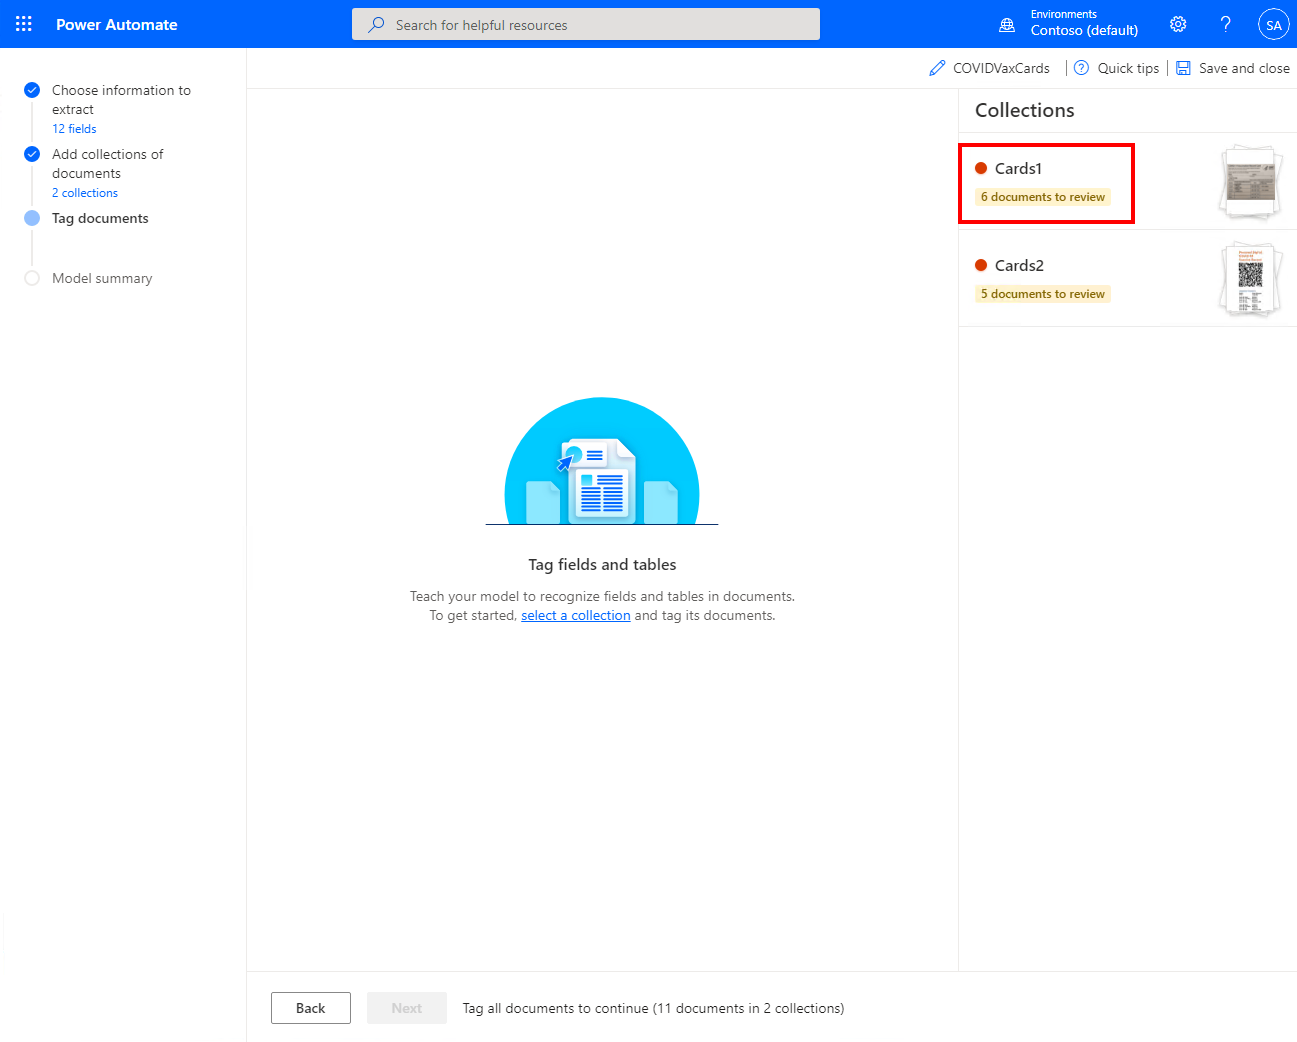
- The next steps are where we see some of the magic of AI Builder in mapping the fields we defined to the documents. Because we have 2 distinct vaccination card layouts, we are going to create 2 Collections. Click “New Collection”
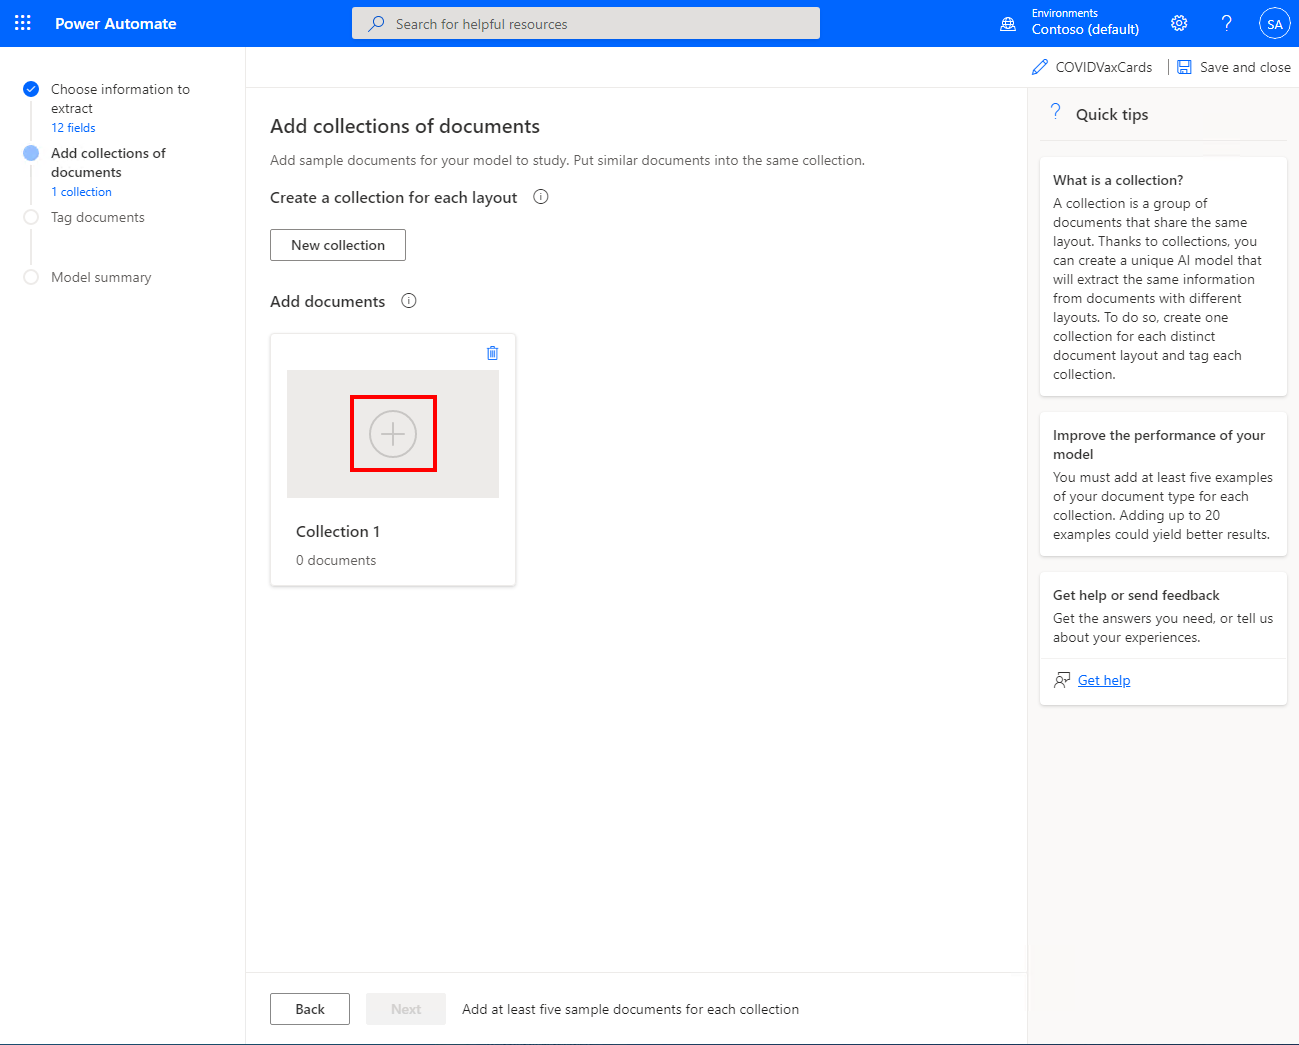
- Select the “+” button to add documents to the collection
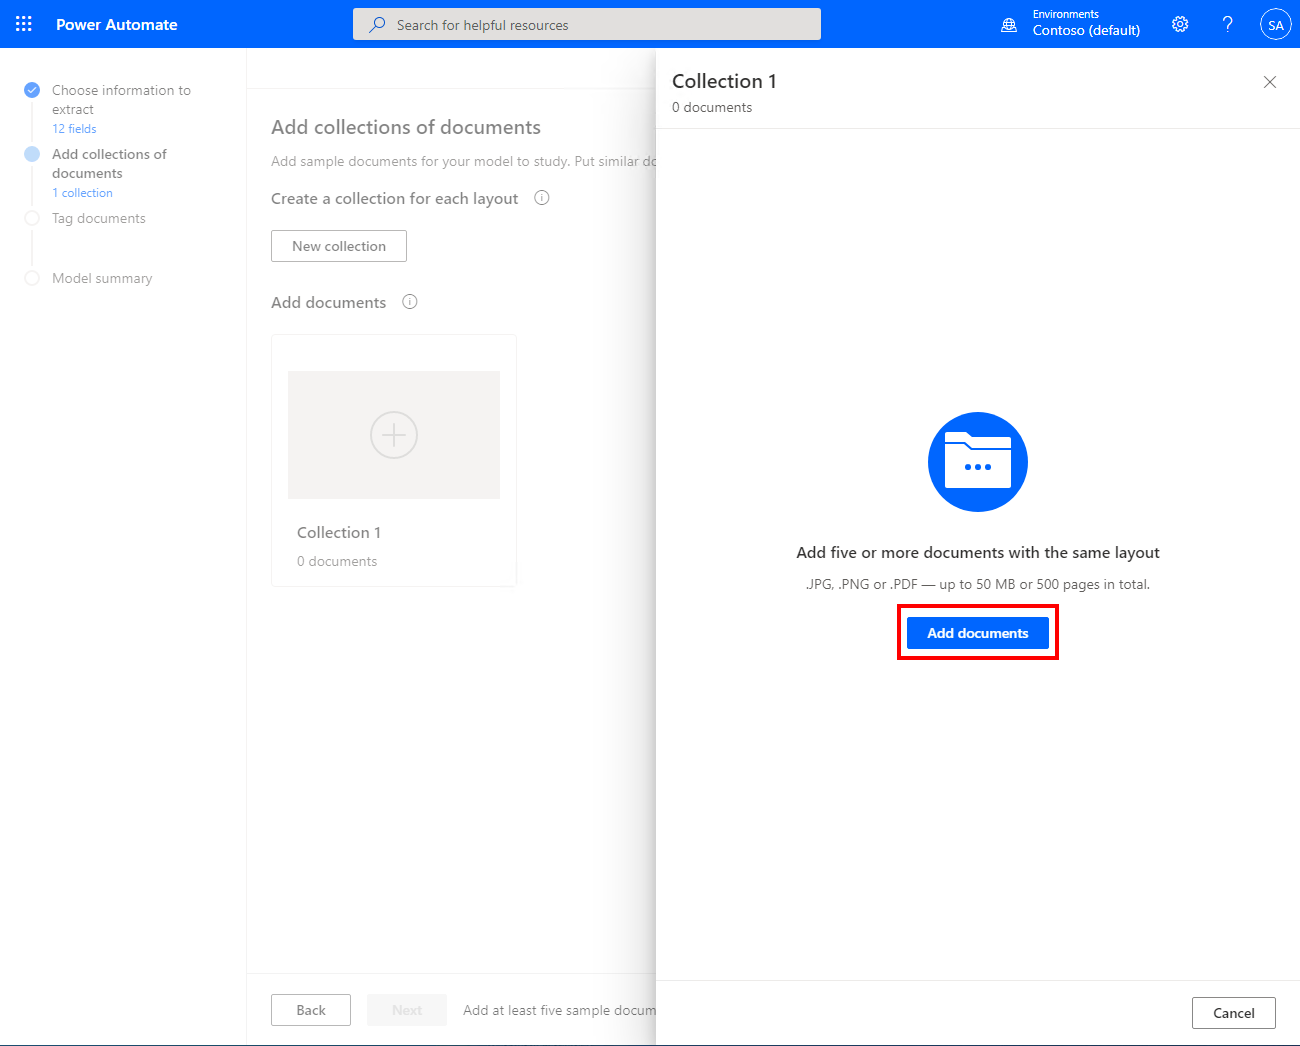
- Select “Add Documents”
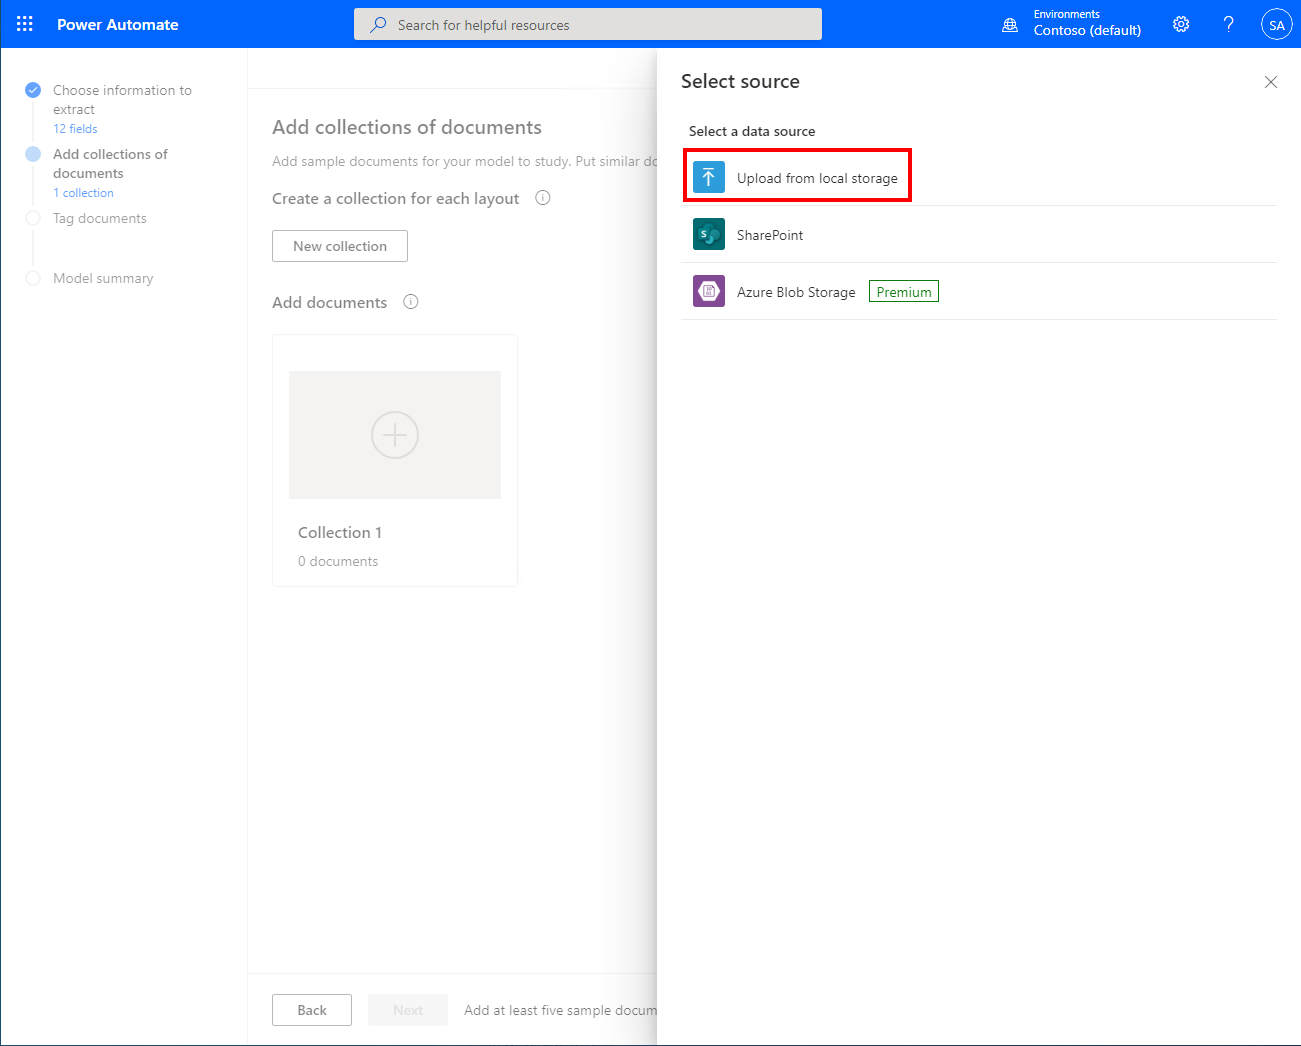
- Select “Upload from Local Storage”
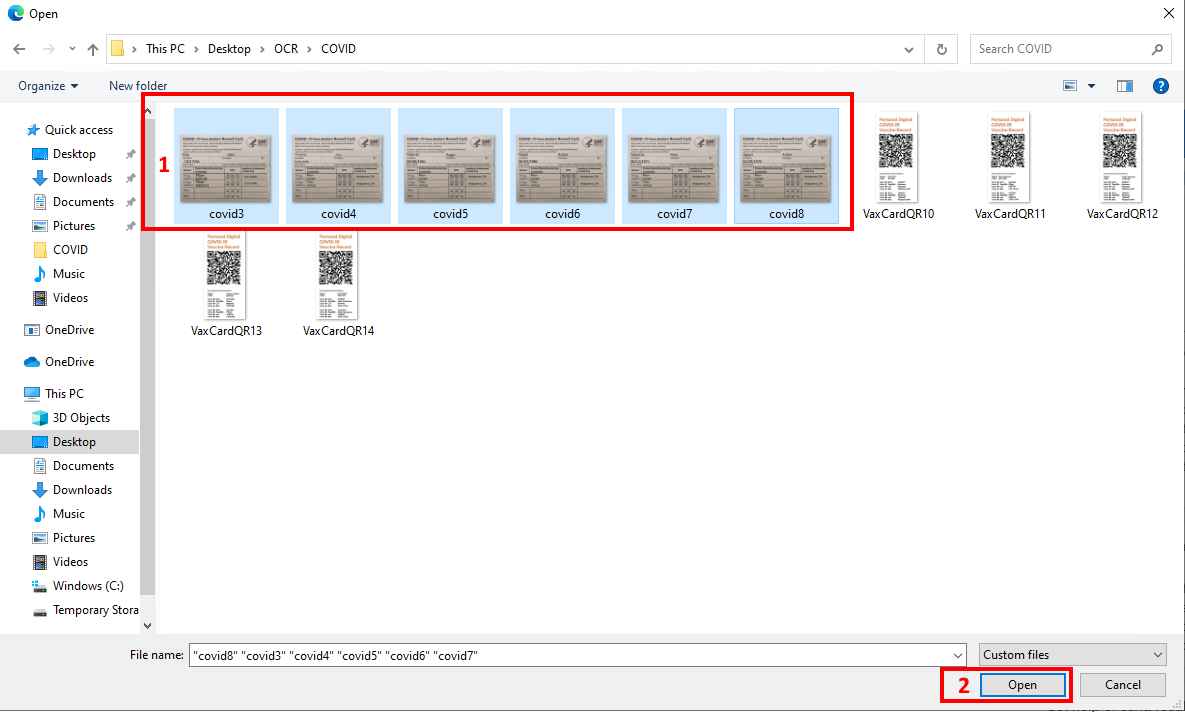
- Browse to the folder where your documents are, select each document to upload (1), then select Open (2)
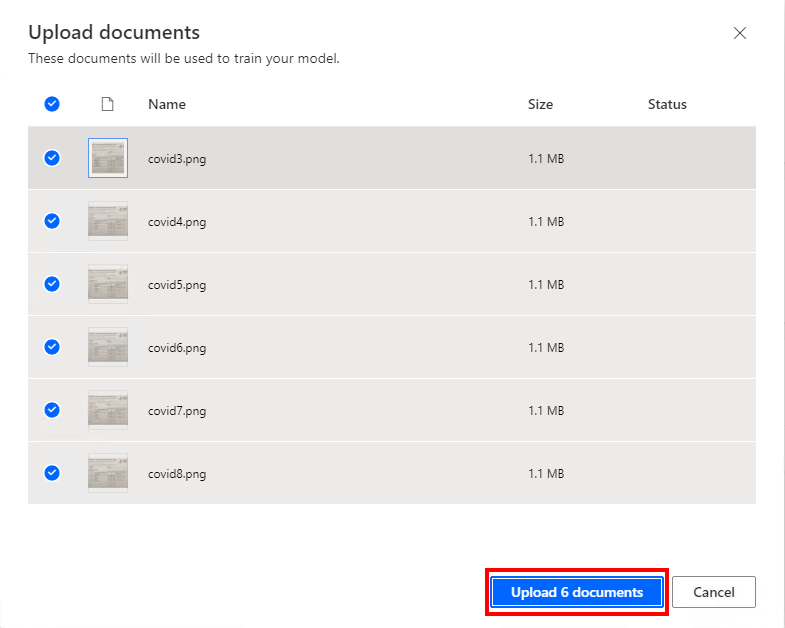
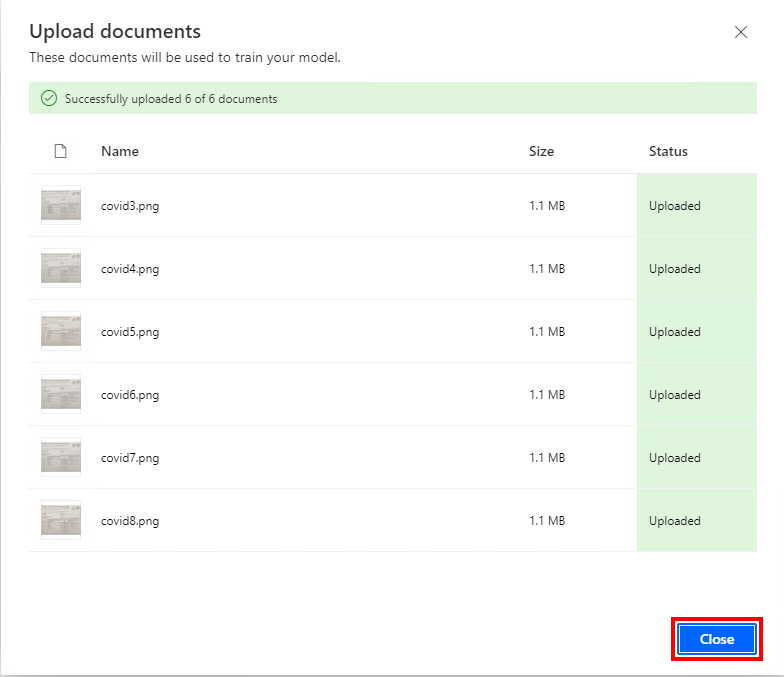
- Select “Upload X Documents”, where “X” will equal the number of documents you selected for upload, in this case, 6
- When you see this dialog showing the upload is finished, select “Close”
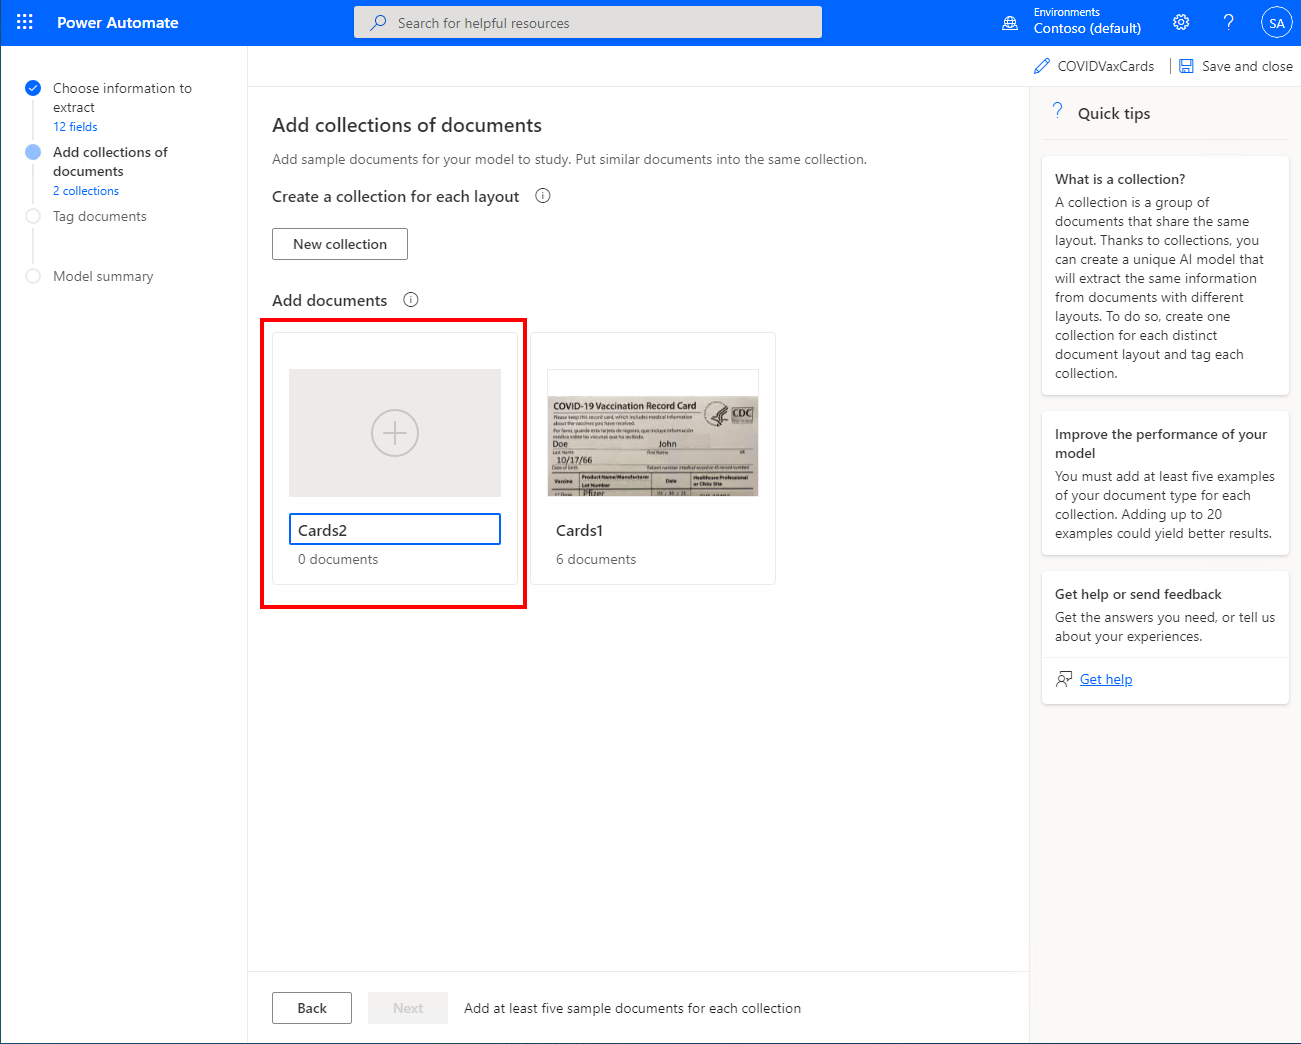
- Select the name field (1) and rename the first collection. Then select New Collection (2).
- Name the 2nd collection, and then follow the same steps to upload the next set of documents.
- When you’re done, you’ll see this screen. select Next.
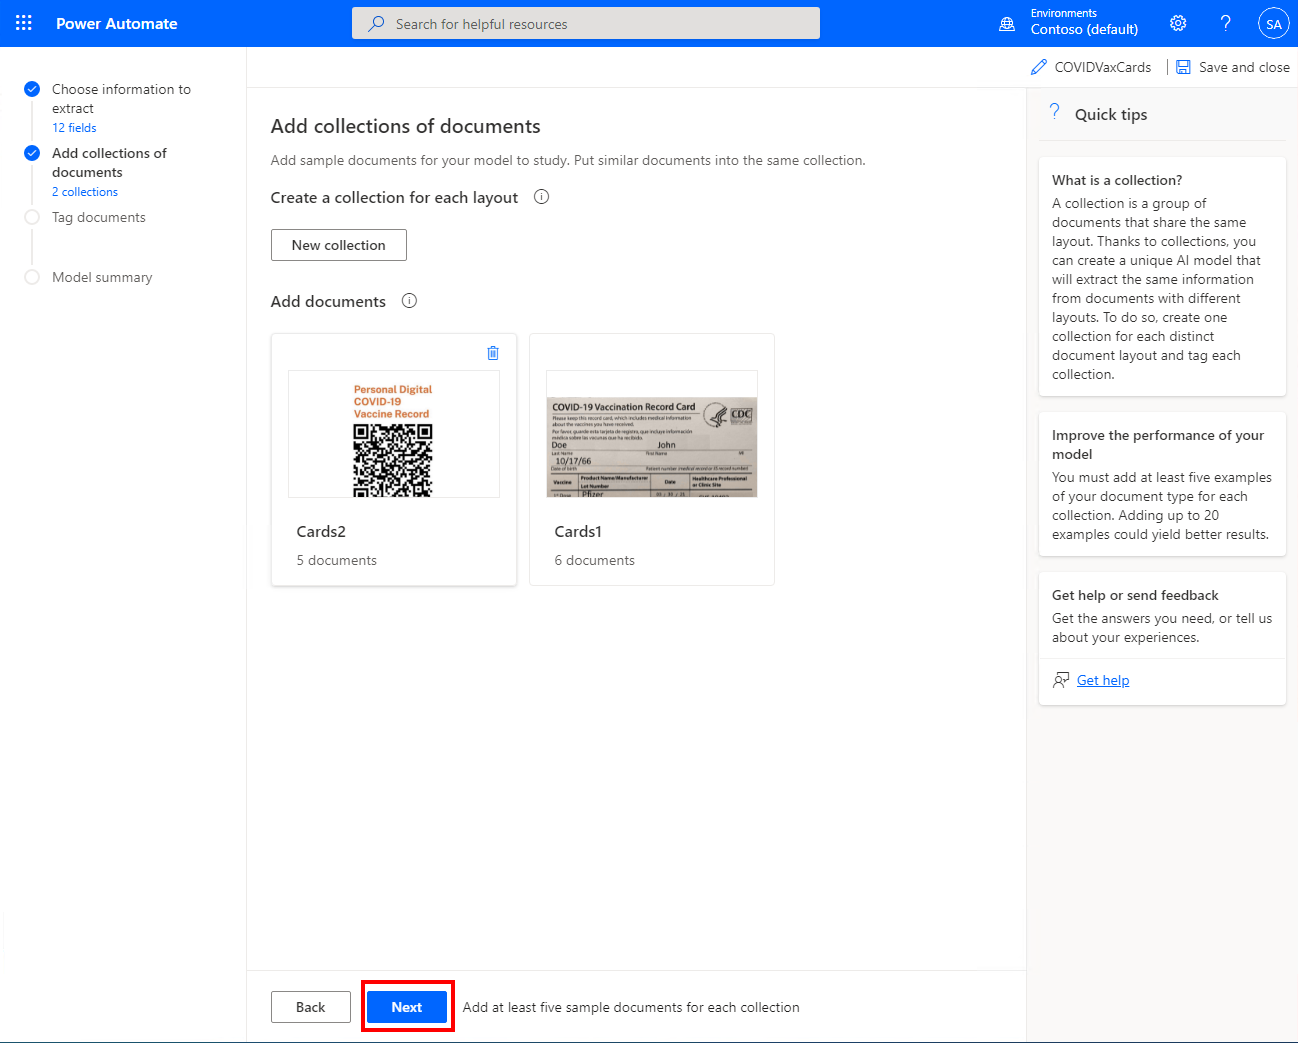
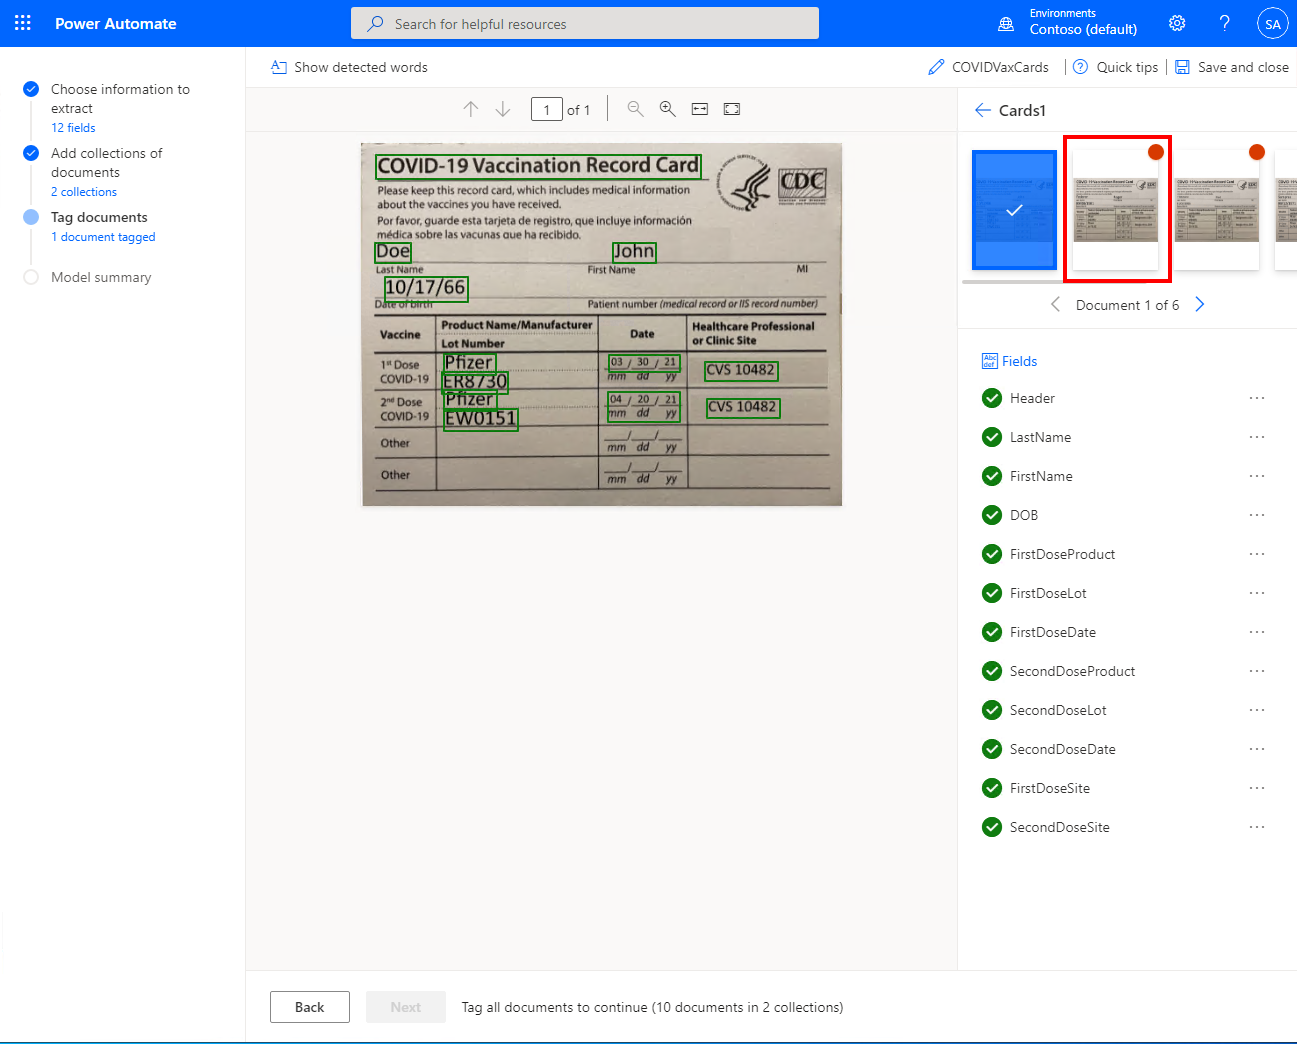
- These next steps are where the real magic of AI Builder occurs! For each field we defined, we need to highlight that field on the documents and then map the field. This will teach the AI model how to extract the data we want. Select the first Collection.
- Each document that needs to be mapped is marked with a red circle. Select the first document, and then we need to select each data field and map it to its corresponding element. To do this, simply click on the data field on the document, and then select the field you need from the list that appears. For a field that is multiple words, such as the Header field which is something like “COVID-19 Vaccination Record Card”, use the mouse to draw a box around the entire line and then the correct field from the list that appears. Sor for example, we want the header field as shown:
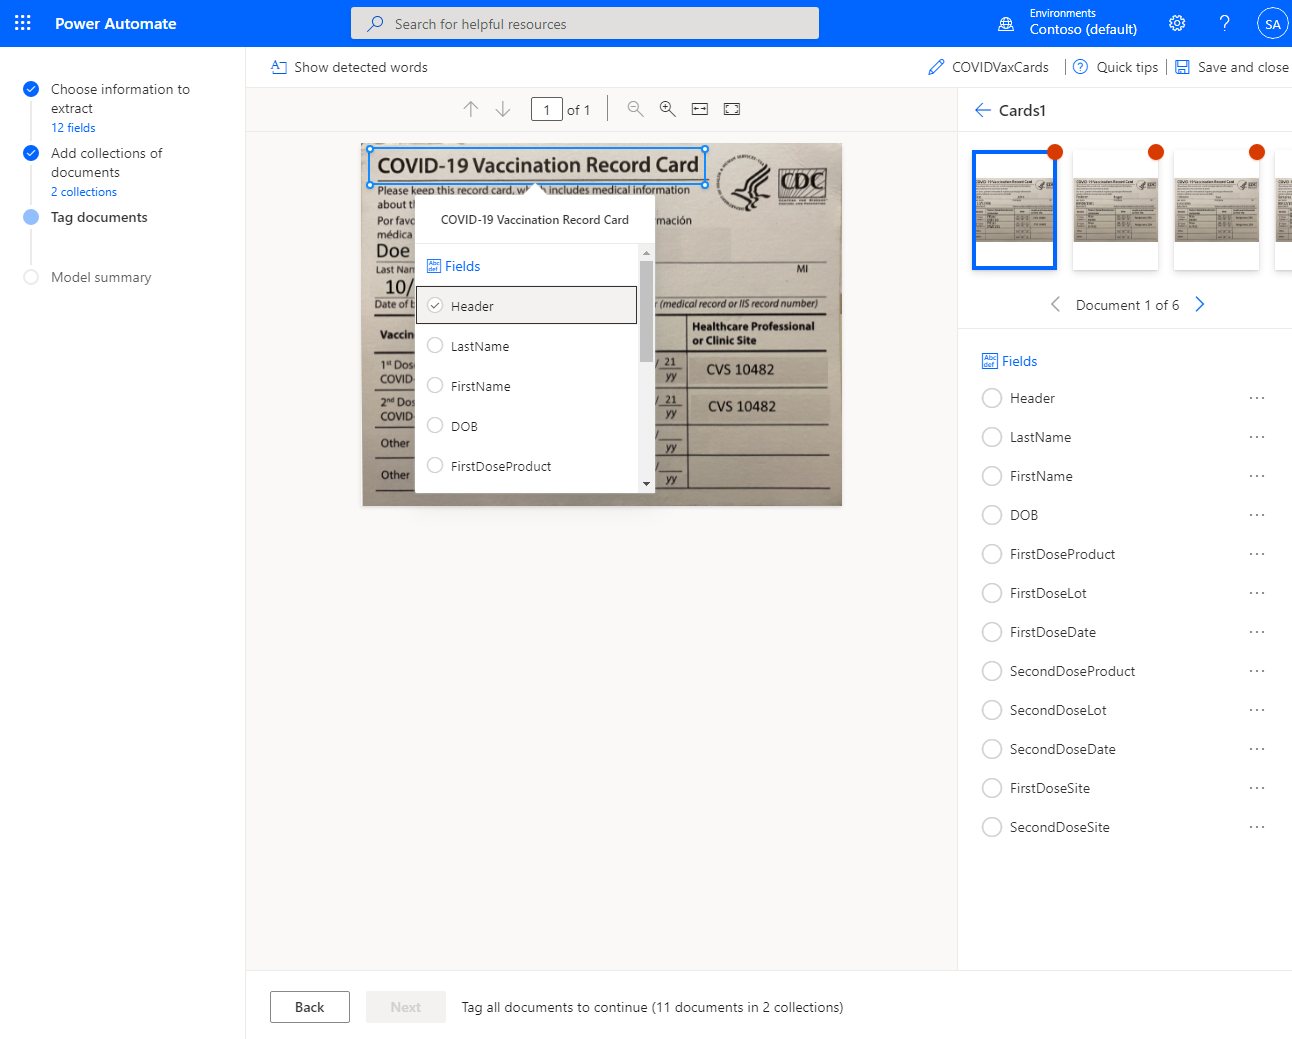
- So, we use the mouse to draw a box around all the words in the header, then select “Header” from the list that appears:
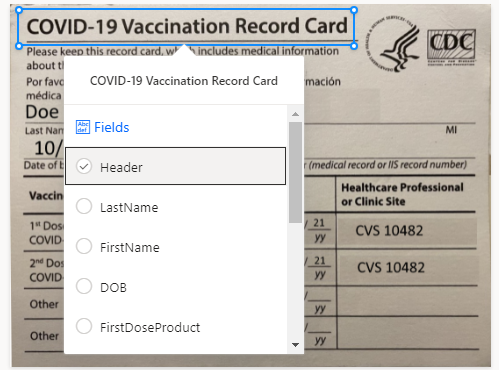
- When done, you will see the selection box around the data turns green, and a green check mark appears next to the selected field.
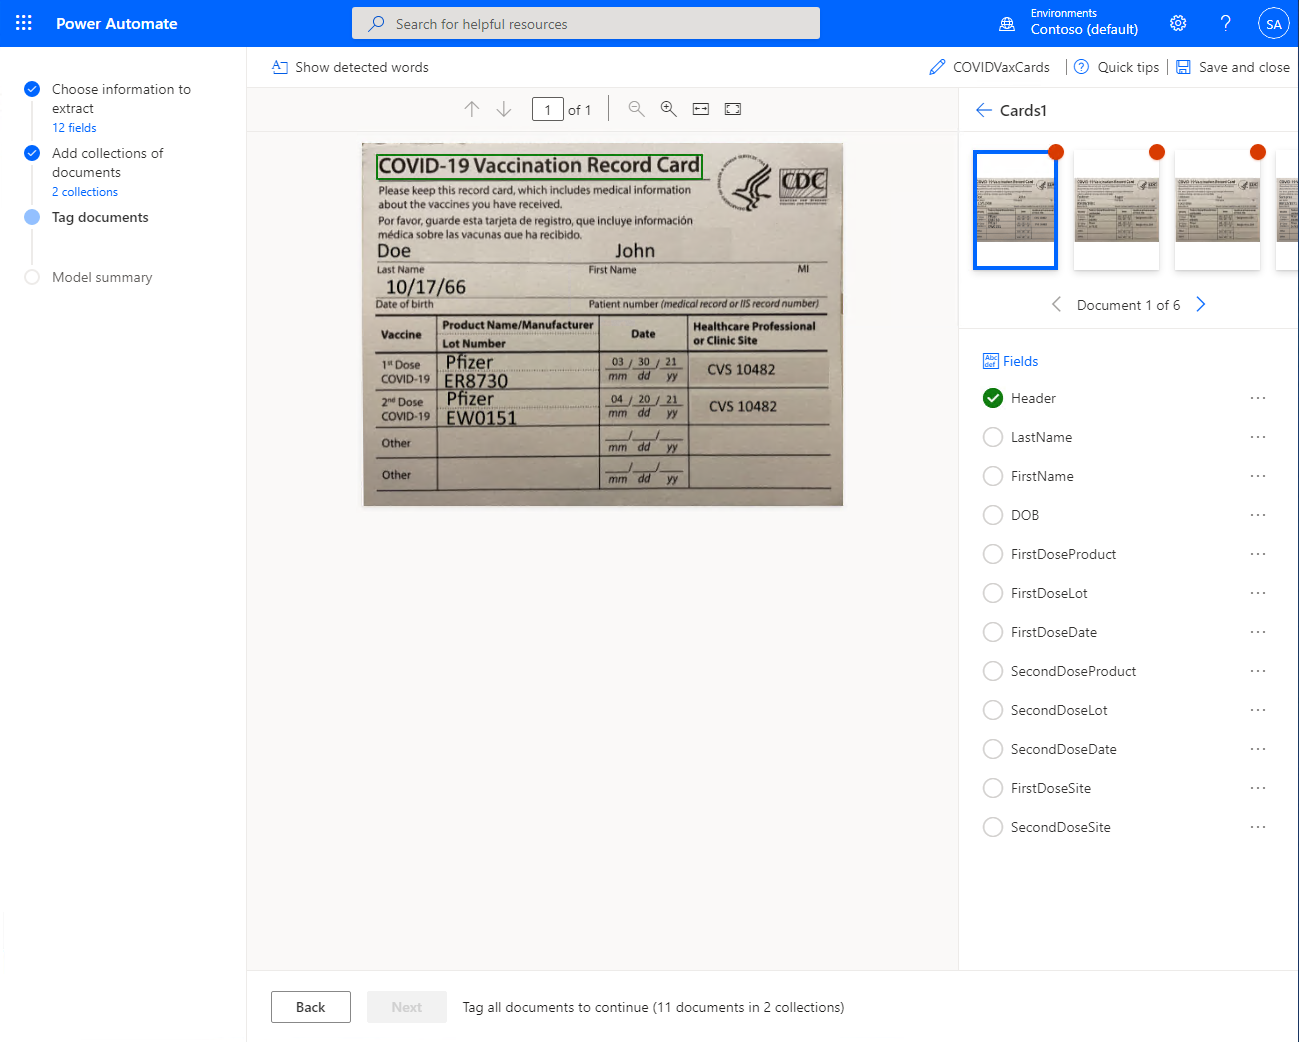
- Next, we follow these steps for each field and for every sample document. Note that if a data element is not on the document, you select “Not Available in Document” from the menu to the right of the field. When you are finished with a document, the screen will look like the screen below, and then you select the next document in line to continue the process. When you select the next document, AI Builder will save your progress. Repeat the steps for all the documents you uploaded as part of the collection.
- When you’re done, the screen will look like this, select the back arrow next to the name of the first collection.
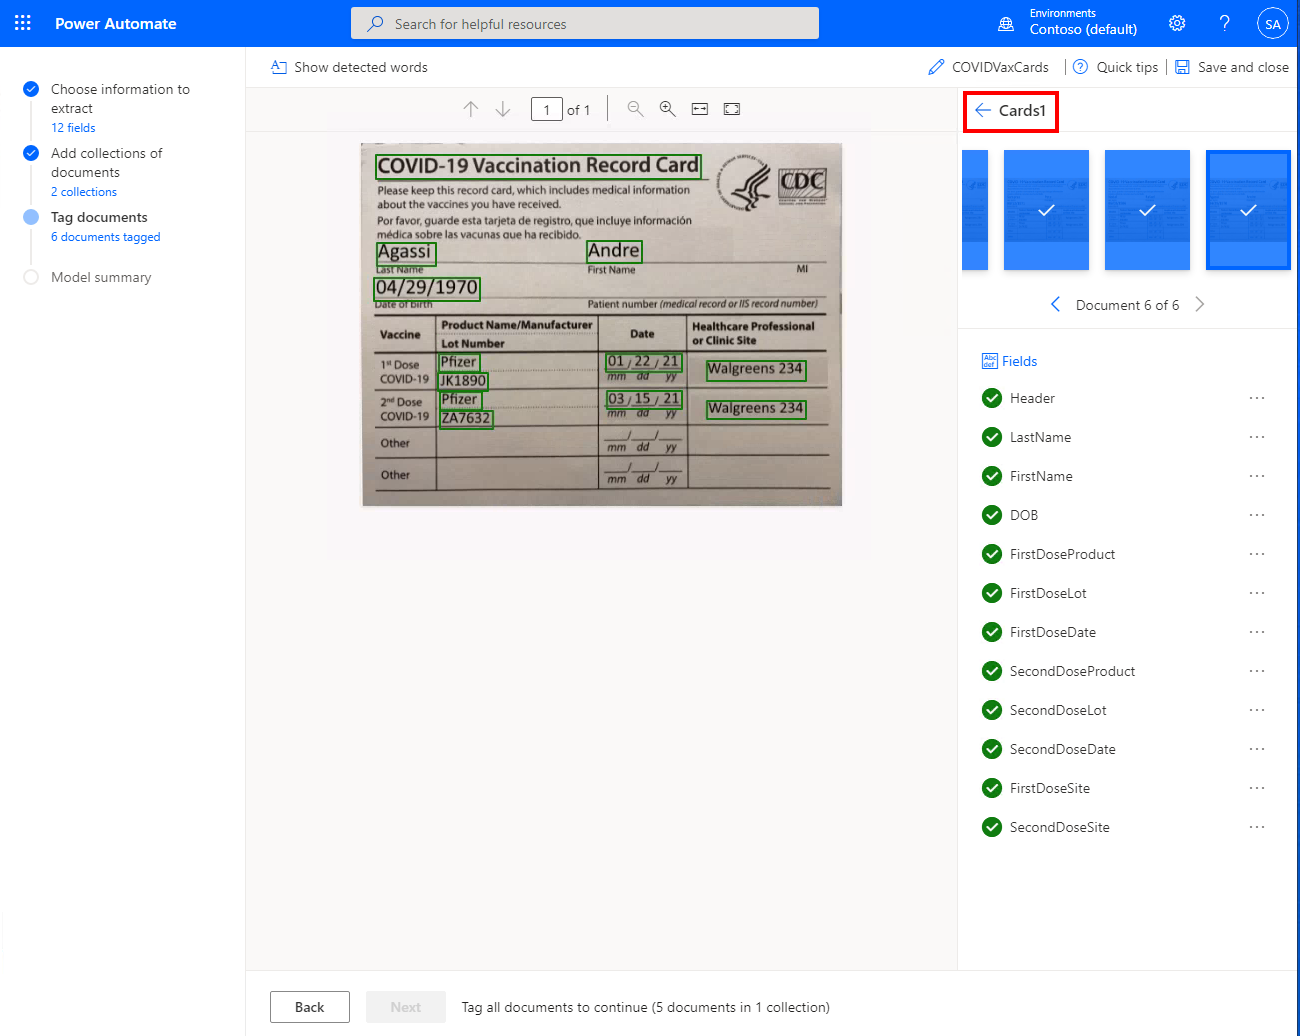
- And repeat the steps for the 2nd collection of documents
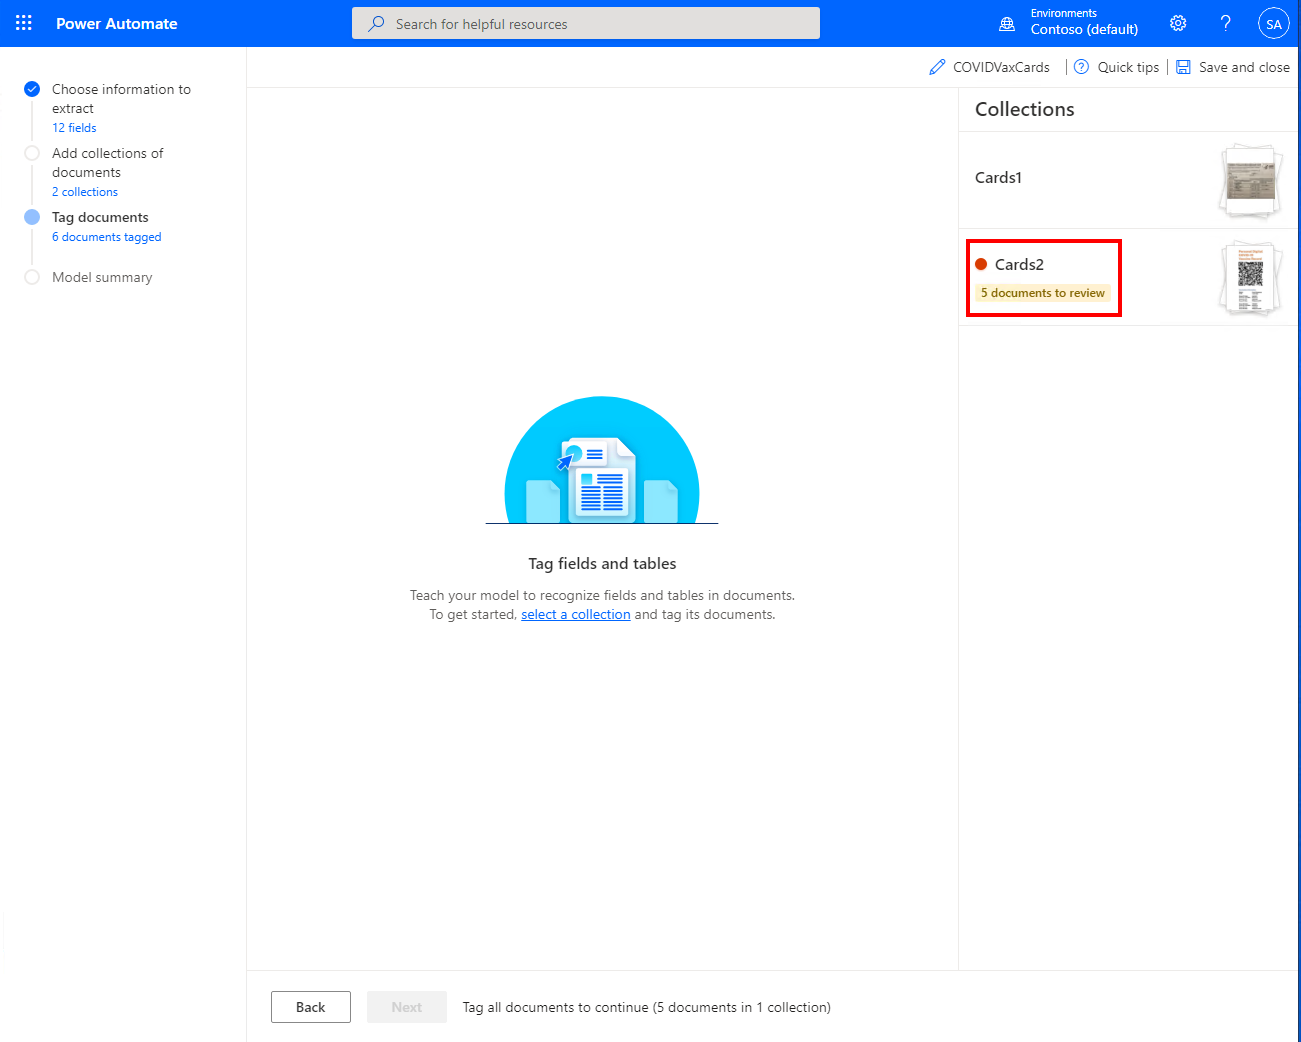
- When you’re done with all the documents in both sets, select Next

- On this screen select “Train”
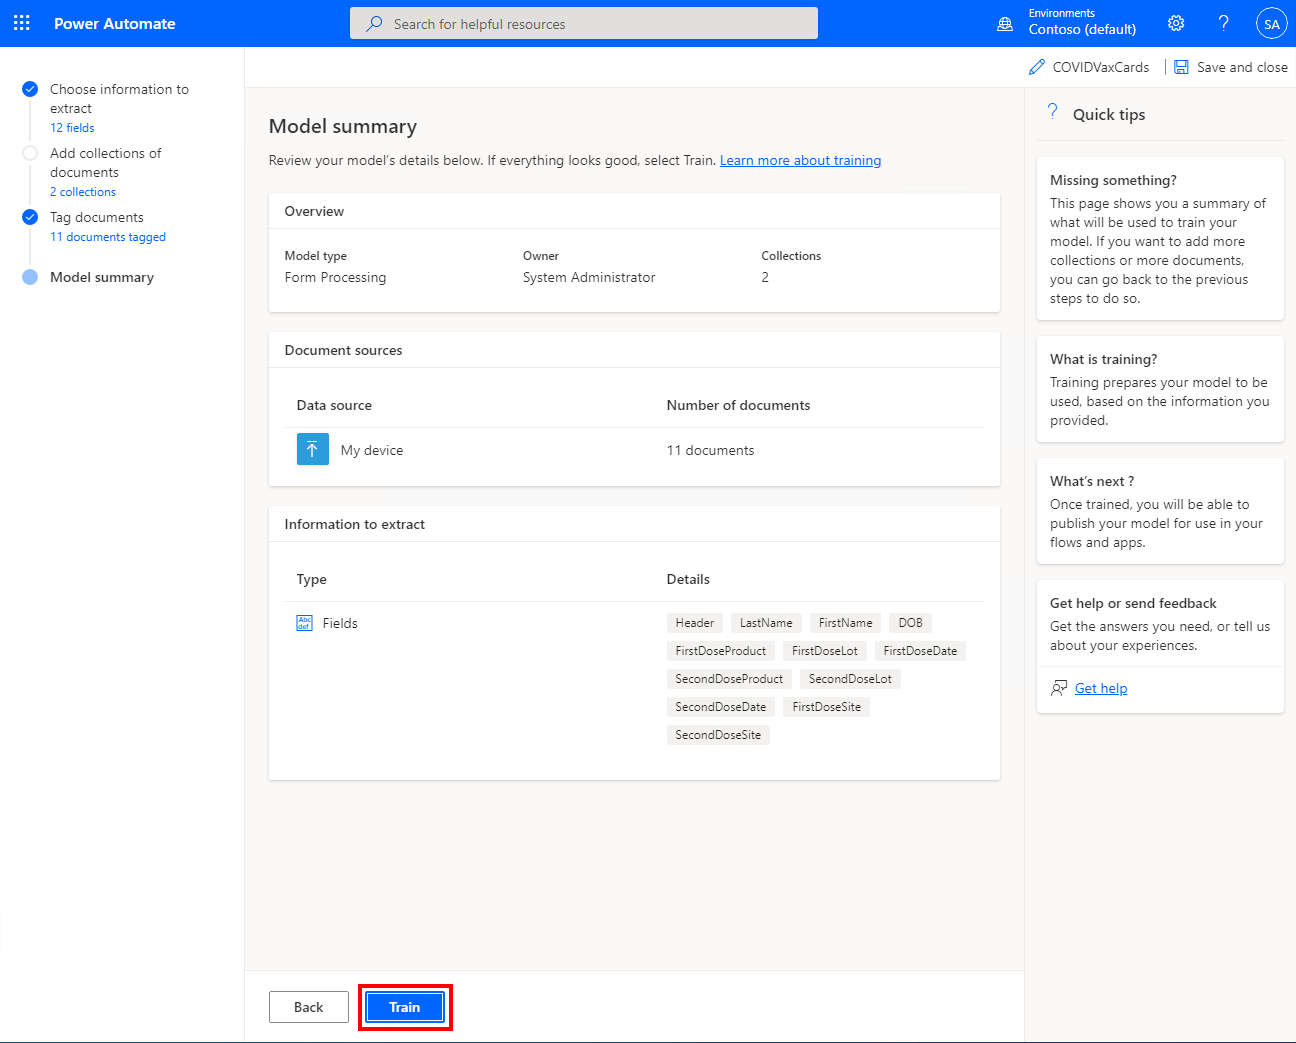
- You will see this dialog while AI Builder trains your new model
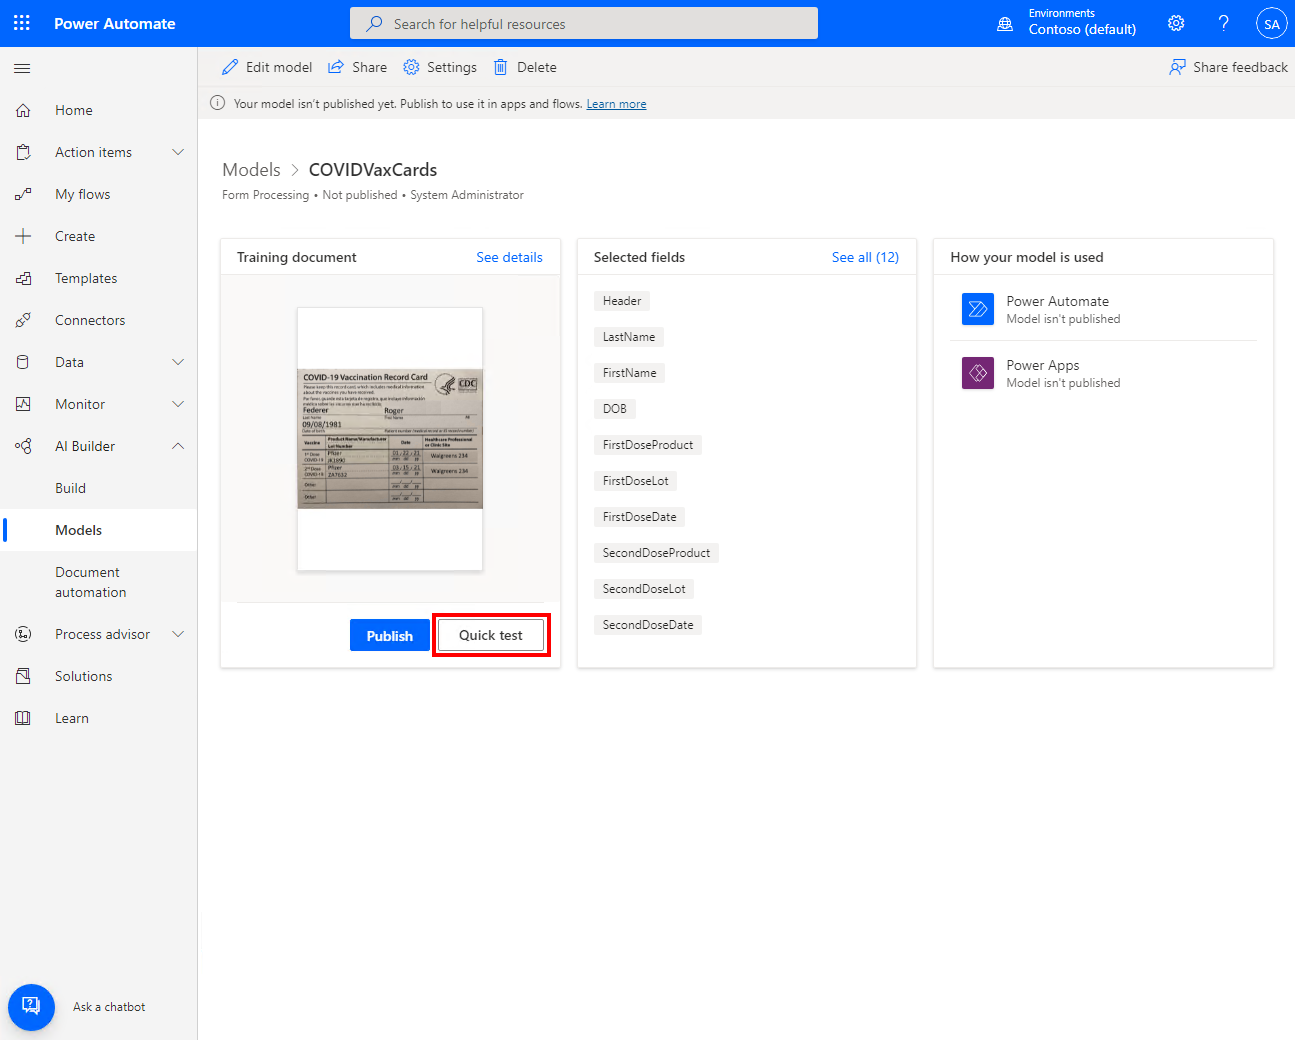
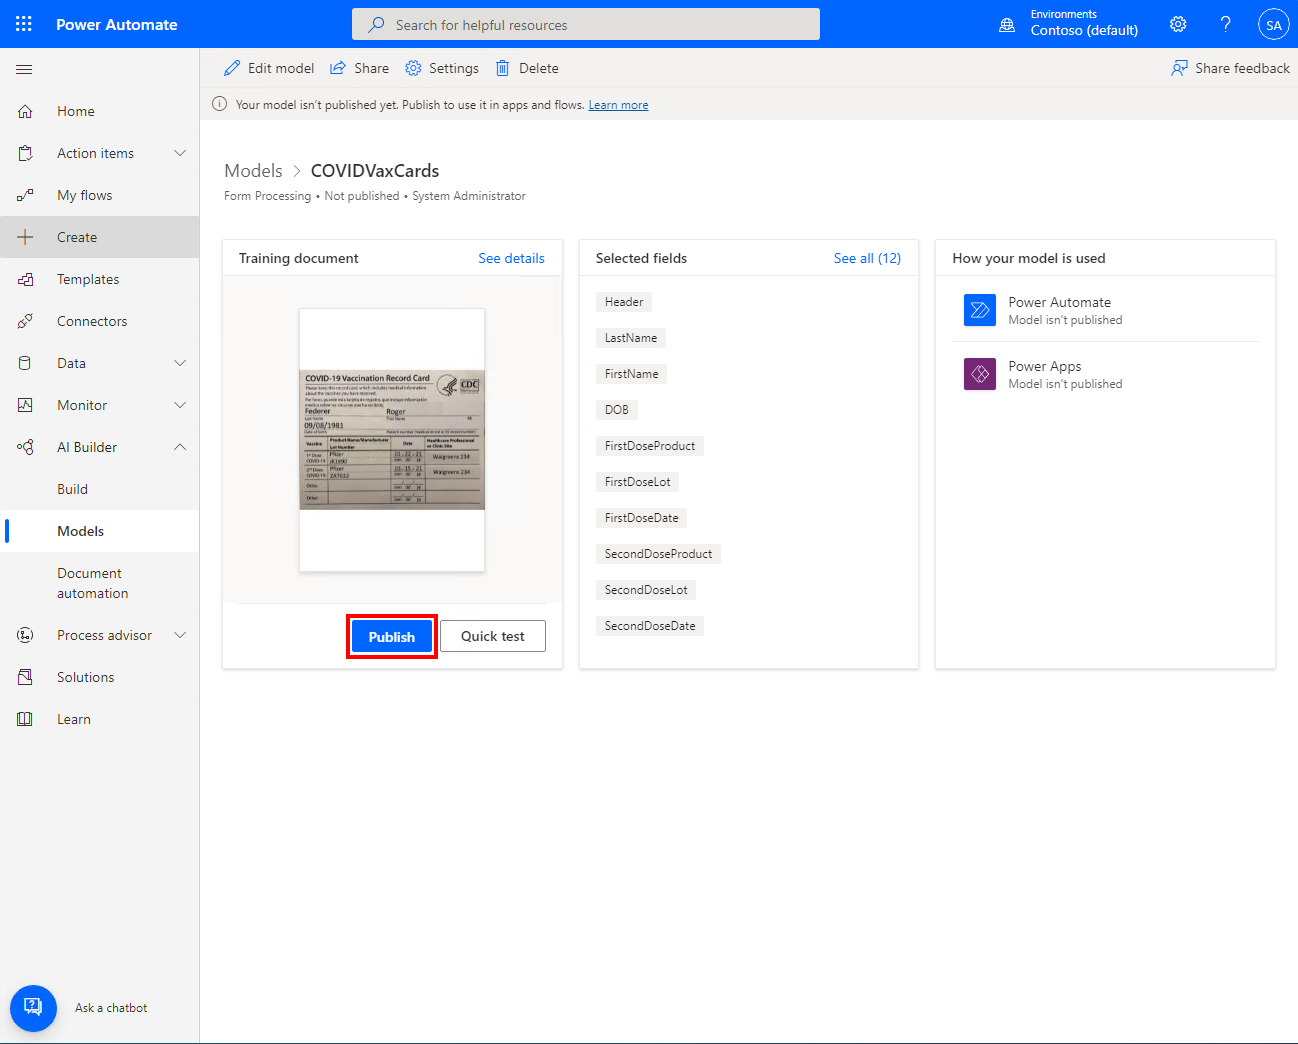
- OK, our model is done training so now we can see it in action! Before publishing your model for use, it’s a best practice to run several tests on sample documents. Depending on the success rate of the tests, you can then decide to go back and continue to refine and improve your model by adding more documents and re-training, or you can publish the Model. Select “Quick Test”
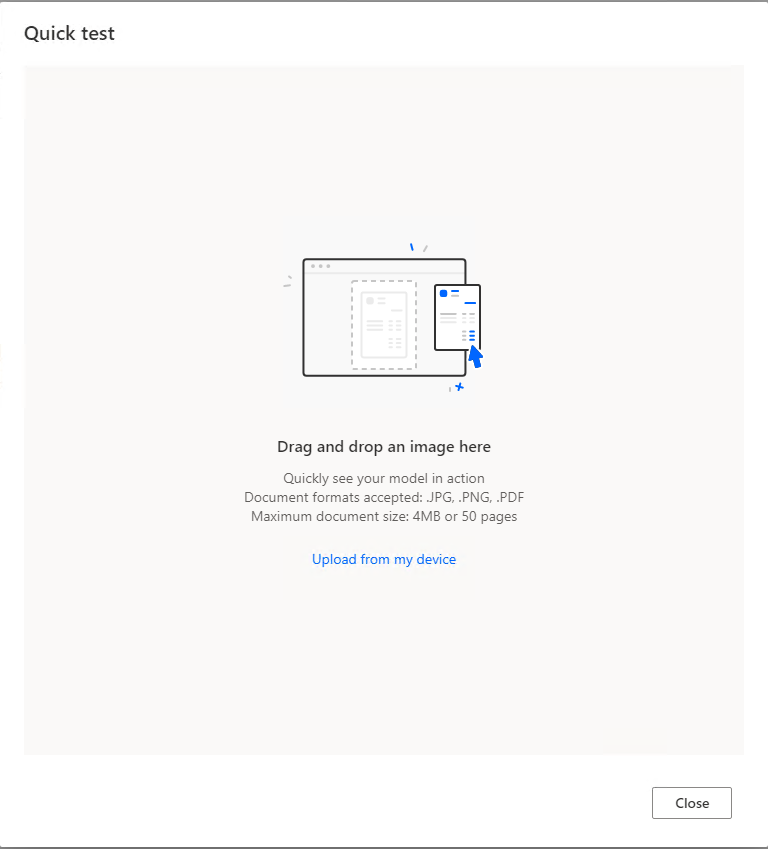
- Drag-and-drop an image
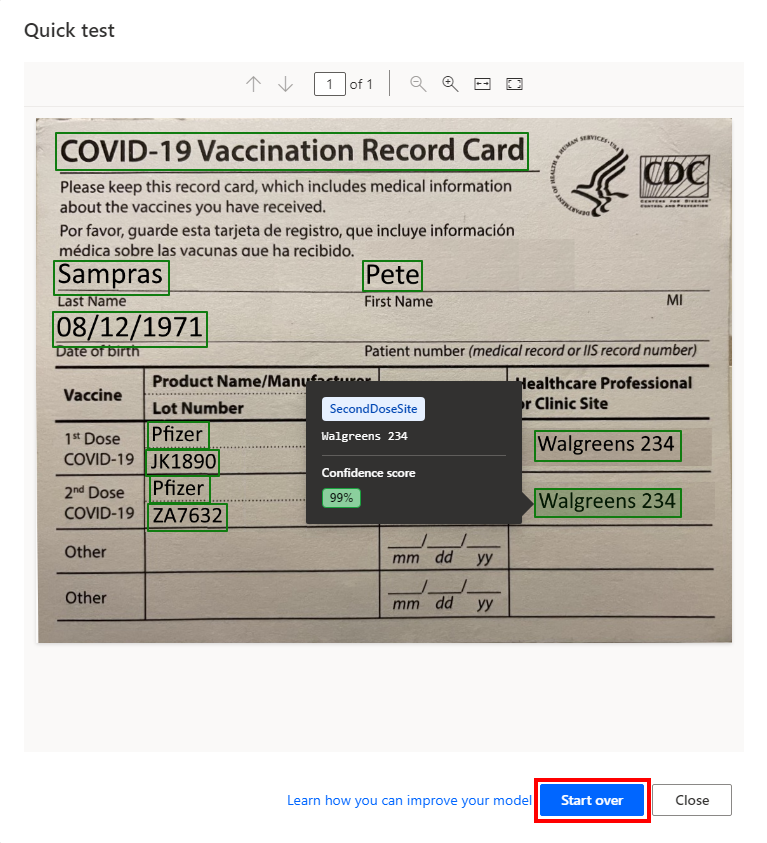
- Success! Our model successfully recognized all the fields on our sample. Note if you mouse over each field AI Builder will tell you the confidence in the prediction of that field. If you’re not happy with the results, you can continue to refine your model. For production, more tests would be a best practice, and it’s a good idea to test images of varying quality, picture angles, etc. For this example let’s test our other document type. Select “Start Over”
- Drag and drop a sample of the 2nd document type and see the results, then select Close.

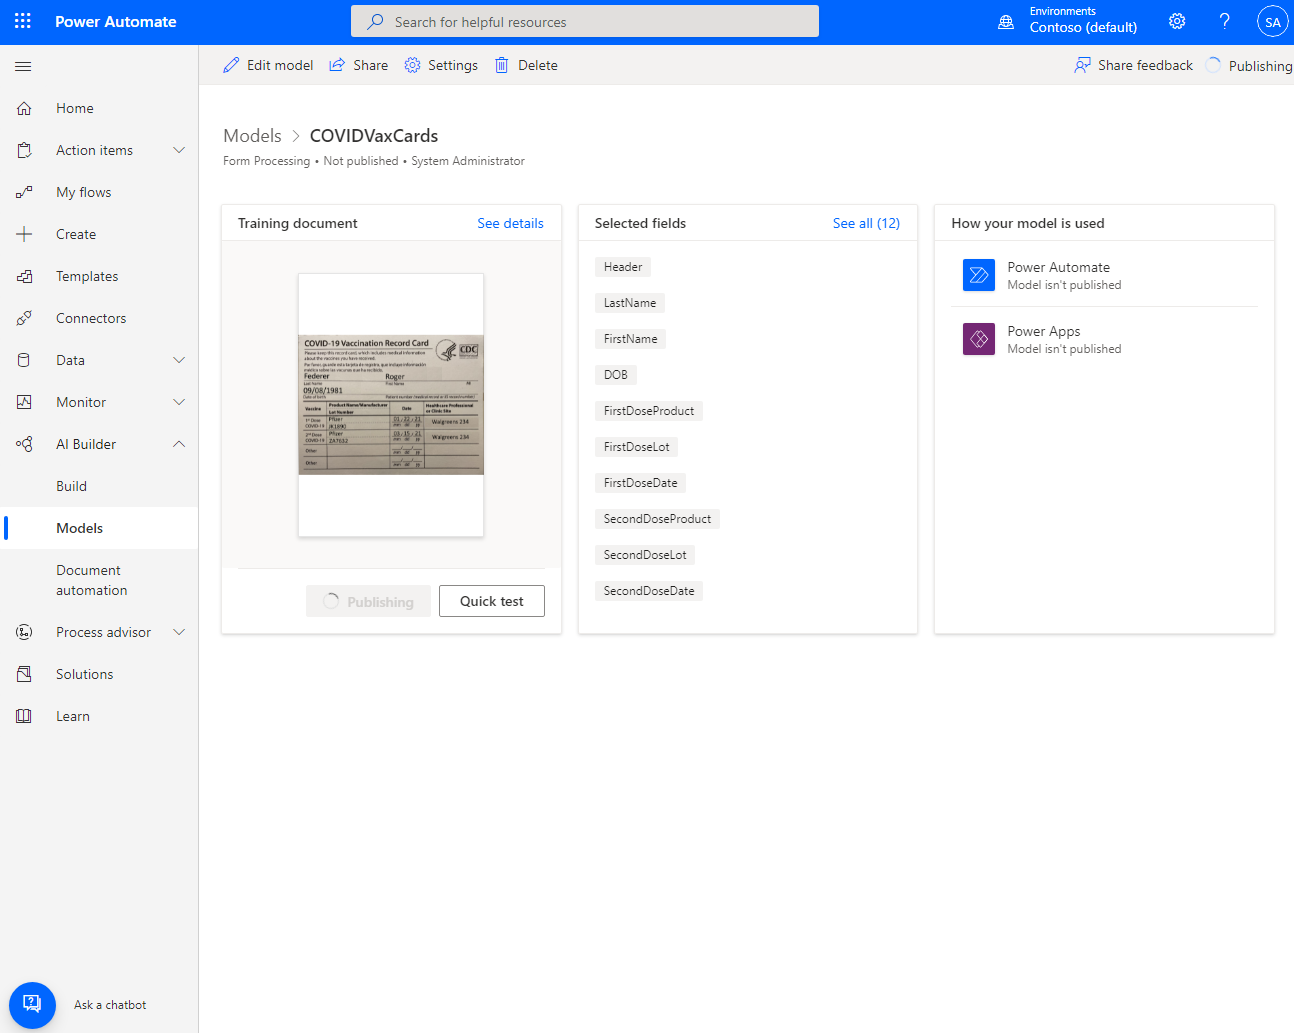
- Select “Publish”
- You will see this screen:
Putting everything together in an automation flow
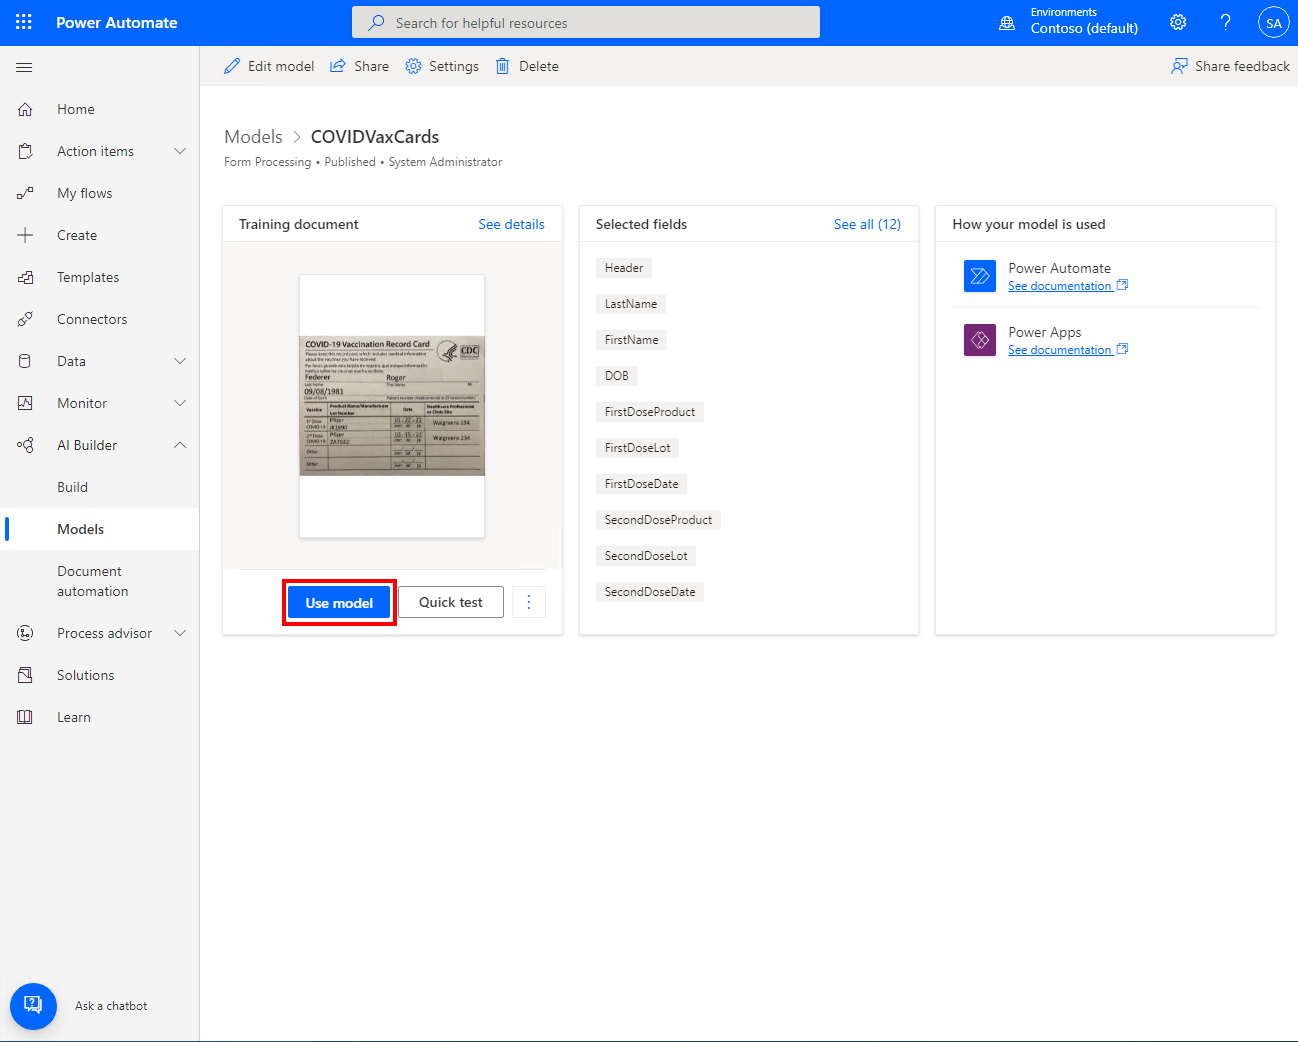
- When publishing is finished, select “Use Model”
- Select “New Flow in Power Automate”
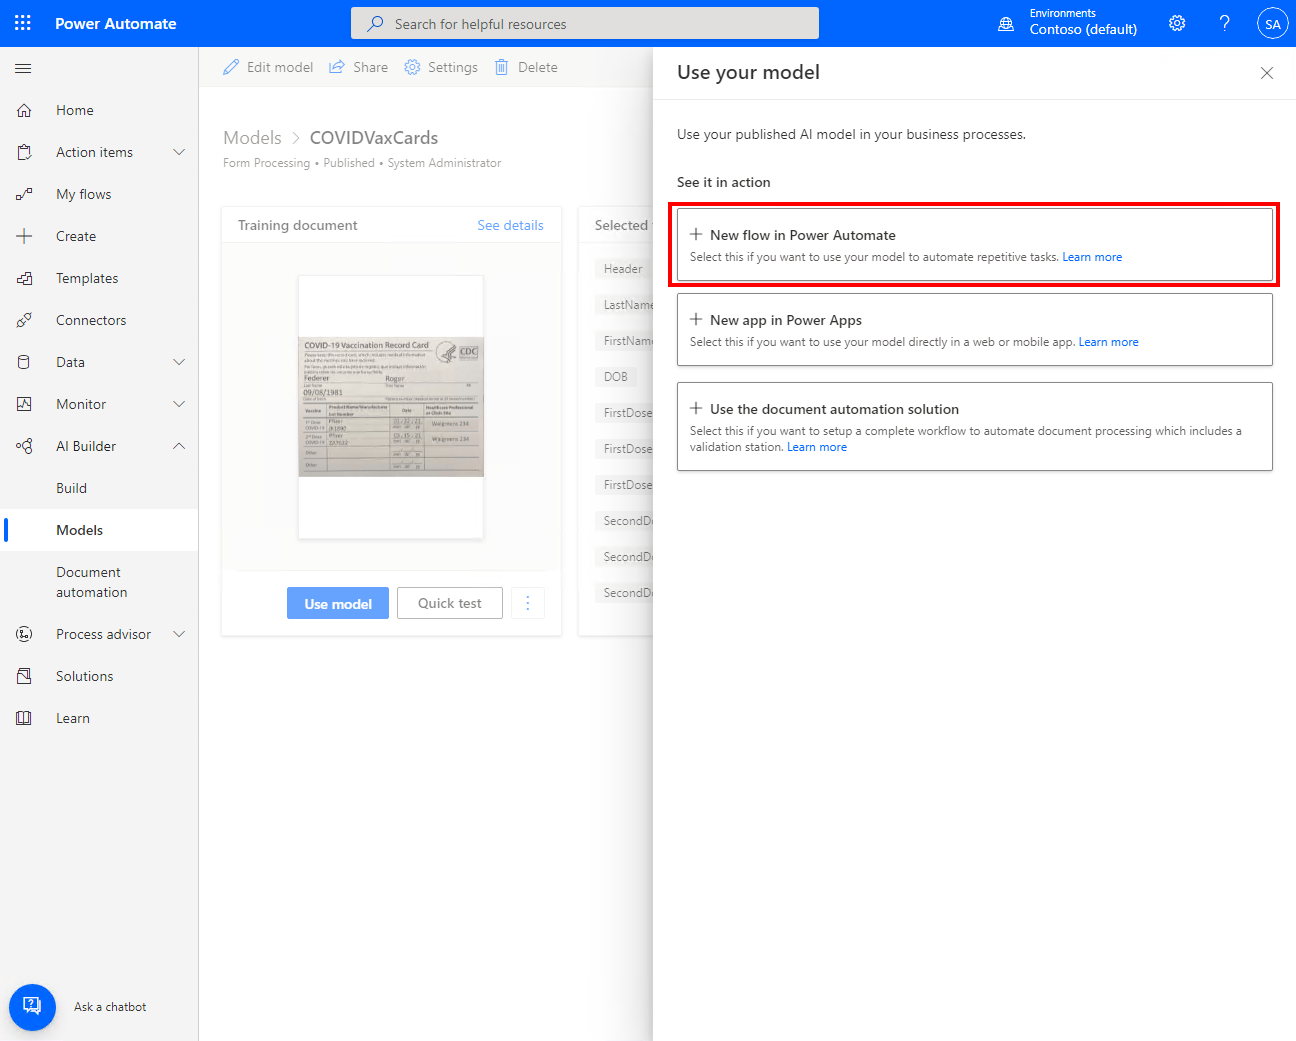
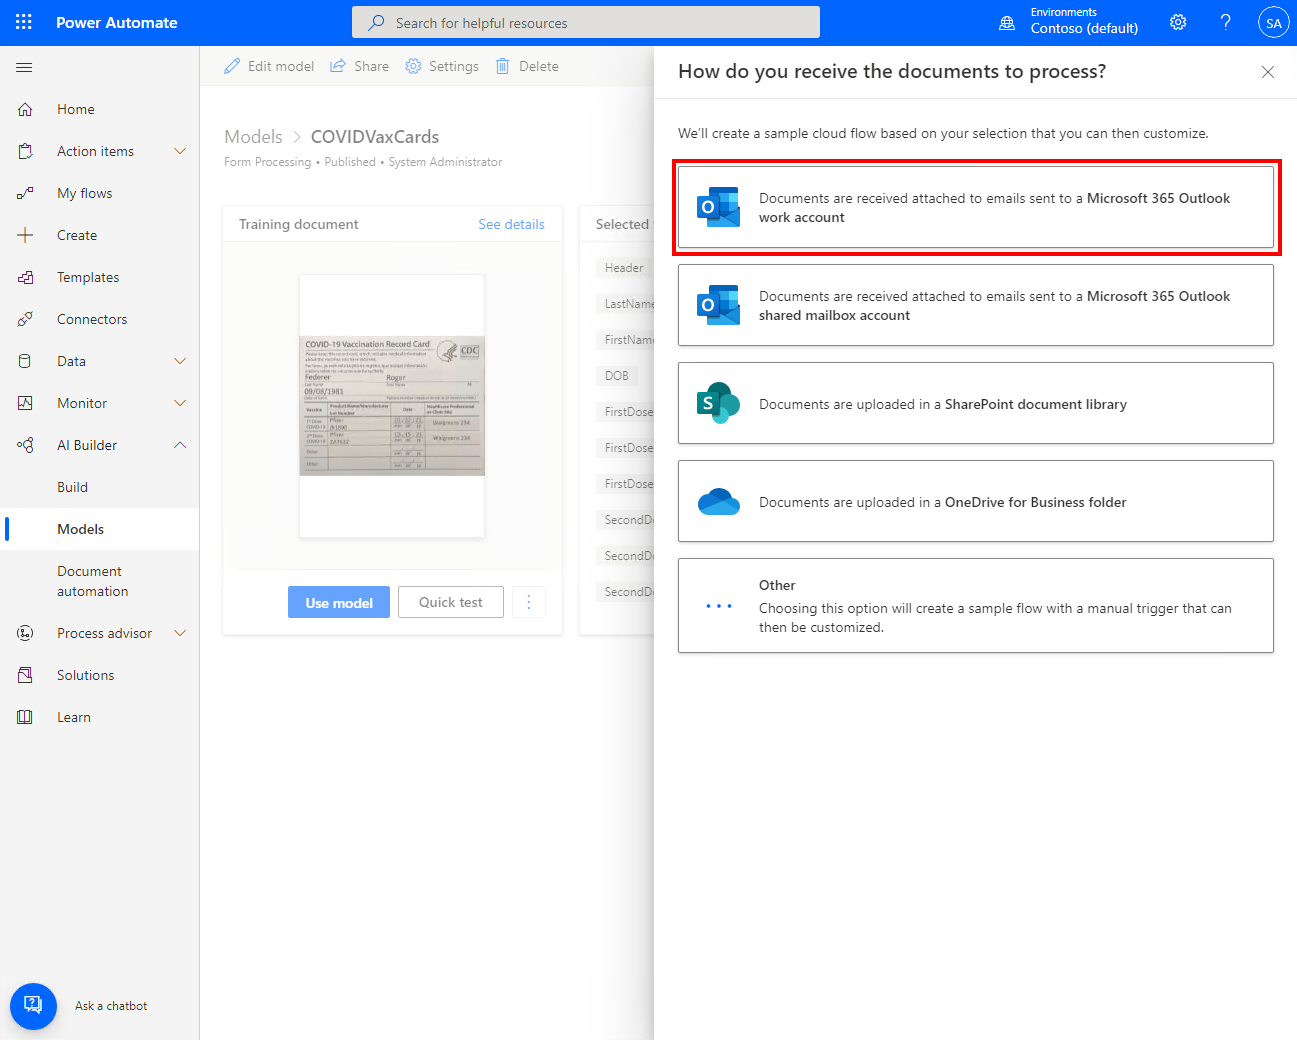
- And for some more Power Platform magic, we are presented with several template options to kick start our automation configuration! Select “Documents are received attached to emails sent to a Microsoft 365 Outlook Work account”. So in this case the “trigger”, or the event that runs a Power Automate flow, is an email arriving. There are many kinds of triggers, such as a schedule, online documents being created or updated, etc.
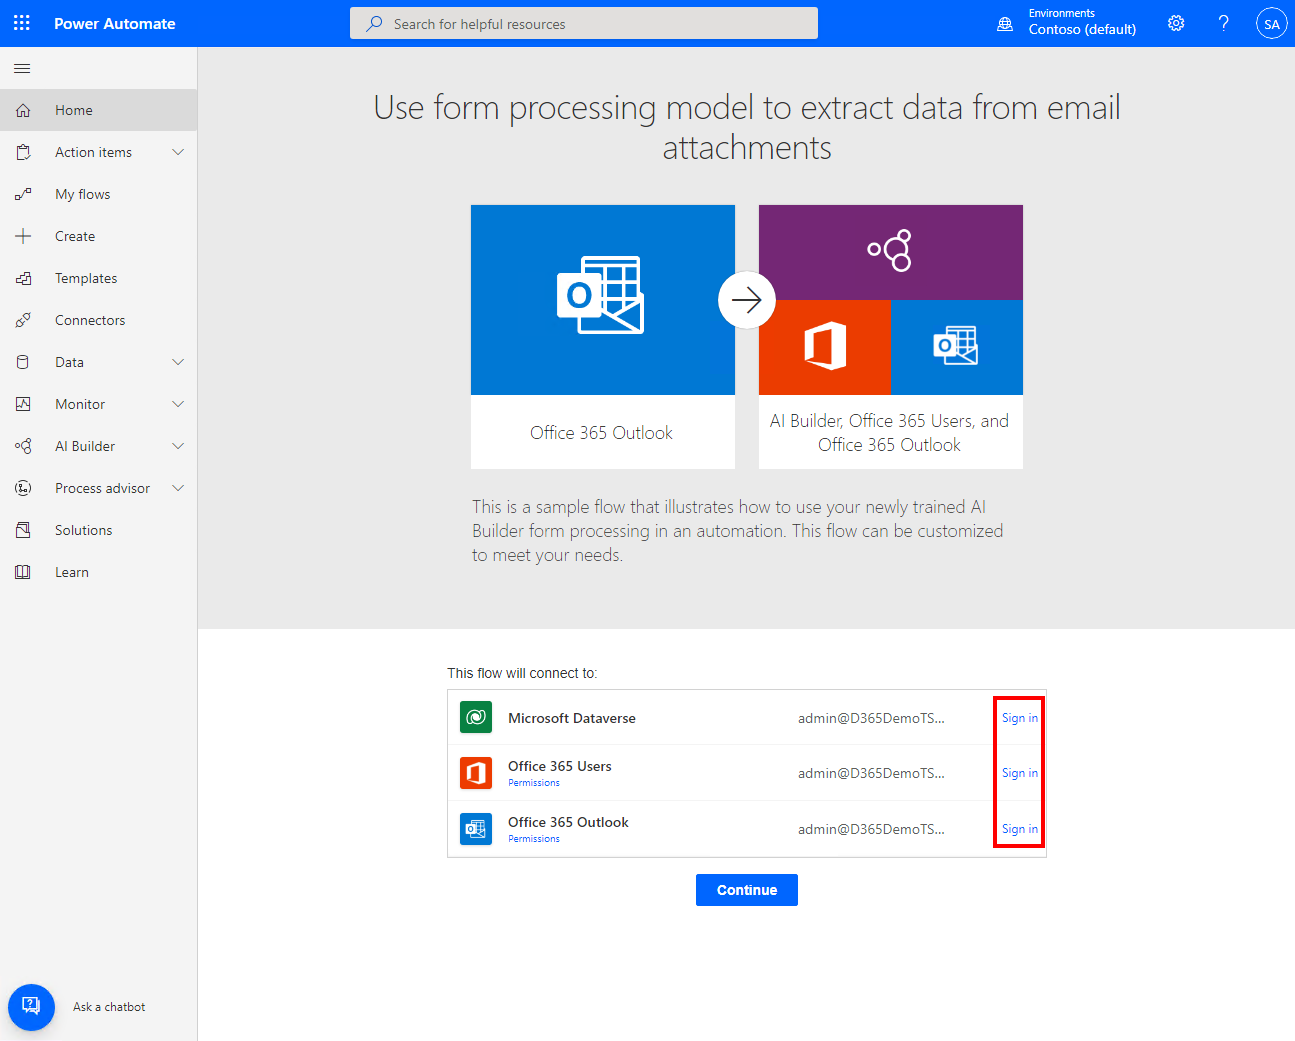
- One of the most powerful advantages of the One-Microsoft Power Platform solution is the integration between the various components of the platform such as Office, Power Automate, etc. This platform provides tremendous potential for solutions and value for our Customers! On this screen we see that Power Automate has detected it needs 3 connectors for this template, and has confirmed the connections. If a needed connection did not exist, the platform would step you through setting up the required connection. In addition to out-of-the box connections on the Microsoft Power Platform, we have over 500 connectors to products available here: https://powerautomate.microsoft.com/en-us/connectors/ For each connector select Sign In and thanks to the integration of the One Microsoft platform, the authorizations will occur automatically!
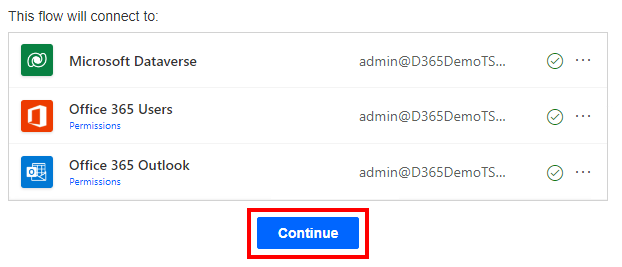
- After authorizing the connections, select Continue
- Ready for some more magic that shows the power of the platform? Power Automate actually builds almost all of the required steps for us to have a functioning automation, and we can choose to either use the configuration as is, or drag-and-drop more steps as needed to automate our process. Important note, be sure to save your Automation using the “Save” button before leaving the page in your browser.
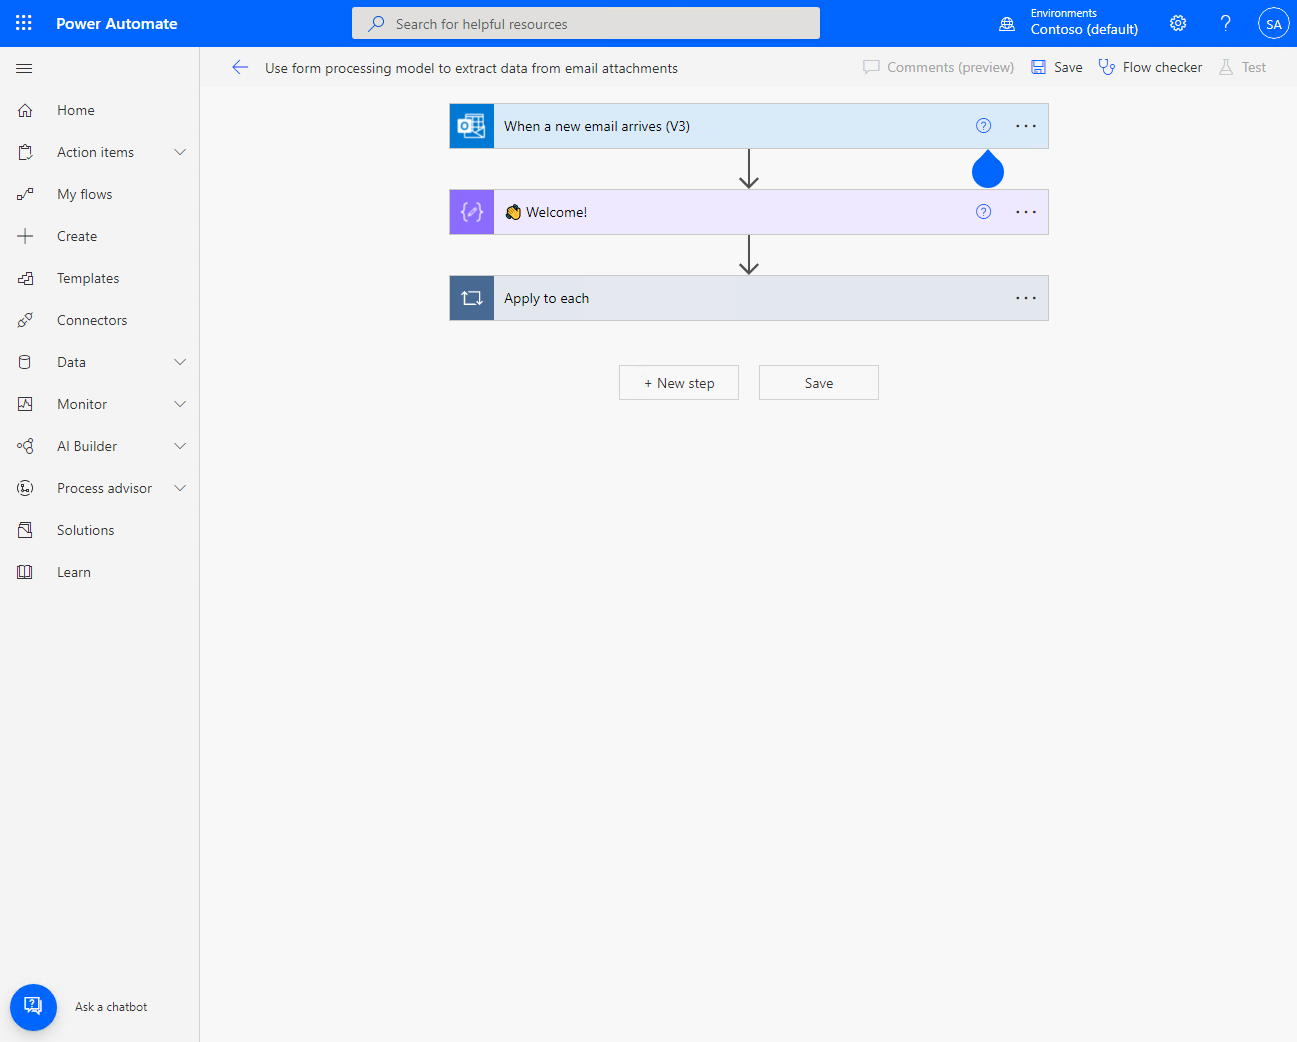
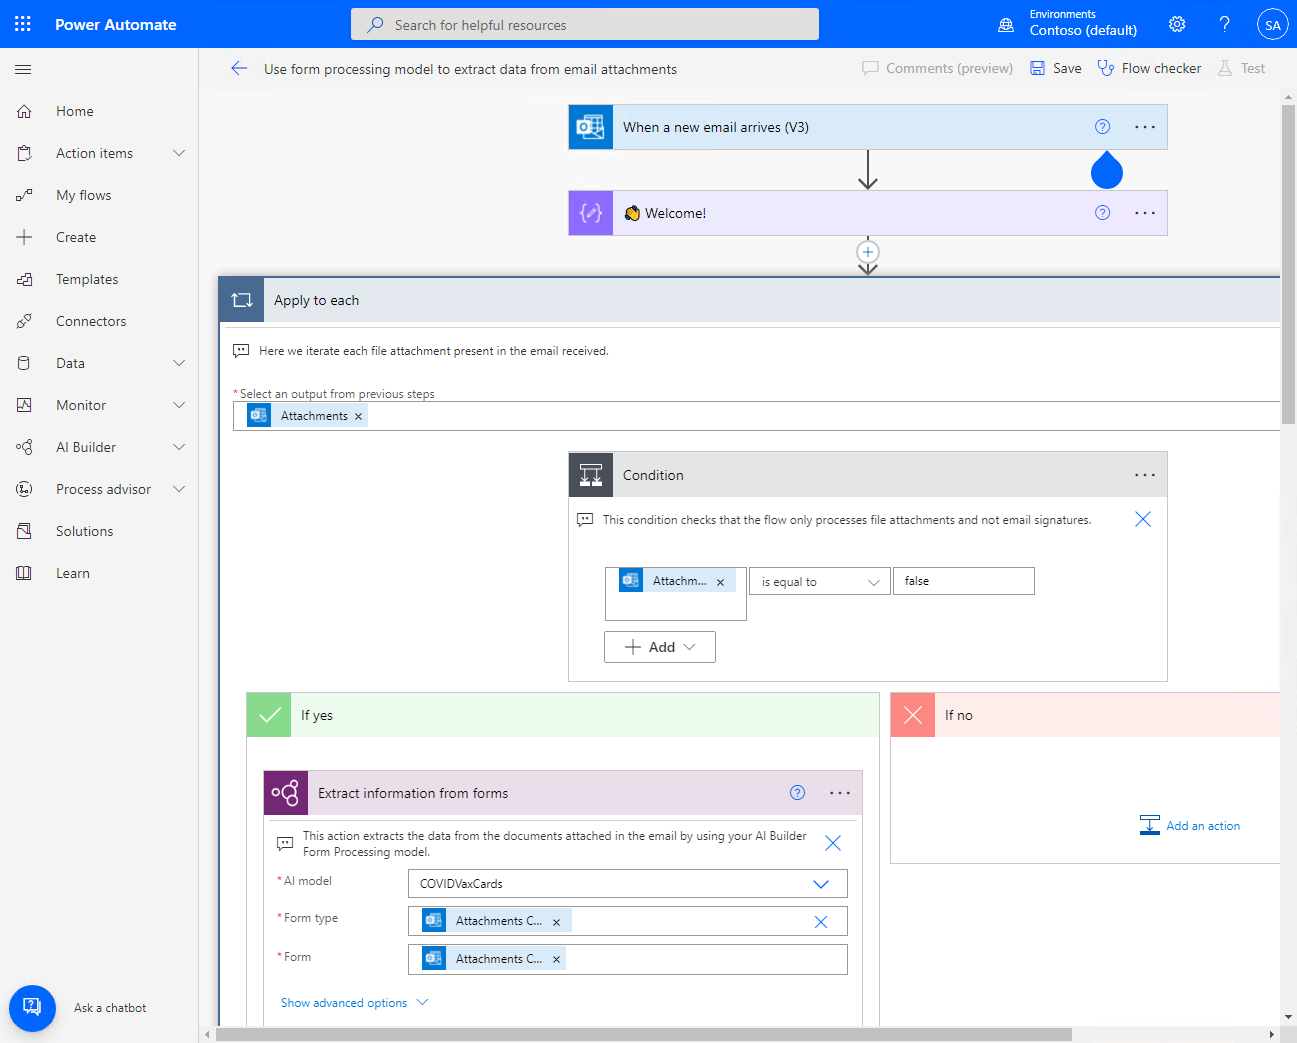


The step “Extract information from forms” has been preconfigured to us the AI Builder model we created, “COVIDVaxCards” and process the email attachment:

Now while this template process is actually quite useful and already runs, it does not meet our business requirements of determining if the attachment is actually a COVID card, and if so, determining if the card has a QR code using our Lobe prediction model, and then of storing the COVID card image on our secure Microsoft OneDrive for Business (https://www.microsoft.com/en-us/microsoft-365/onedrive/onedrive-for-business). To achieve our business outcome, we need to modify the automation flow, so let’s do that.
First let’s change the Subject Filter on the email trigger so this automation only runs when an email with subject ‘COVID Vaccination Card’ is received.

Next, let’s define 3 Variables, all of type String, to hold some values in this automation:
a A variable to set if a QR code is detected
b A variable for the filename to store the card
c A variable to create a message to the user

Now, let’s setup Condition after the ‘Extract information from forms actions’ that proceeds only if the attachment contains the COVID Vaccination Card header. Just click “Add an Action”, and select “Control”, then select “Condition”
To set the condition, click in the input labeled “Choose a Value”, and Power Automate will give you a list of choices. We want to check if the header value extracted by AI Builder contains COVID, so select “Header”.
Change the condition in the middle box to “contains”, and in the last “Choose a value” box, type COVID. So now the Flow will analyze the value of the Header output set by AI Builder, and if it contains the word “COVID”, the flow will continue.

Now we are going to use the image classification model we built with LOBE and AI Builder to detect if the card has a QR Code or not. Under the “If Yes” path, click “Add an action”.

Follow the same steps as before to select the AI Builder connector, but this time select “Predict”


Select the “Model” drop down, and select the model we built earlier, “COVIDQR Model”. Note this time we are using the Image Classification Model.

Click in the “Image” input, and select “Attachments Content”

For this example we are not going to take any further action if a QR code is found because there is no online service to connect with to perform validation, except to set a message. So, we need to set the value of our QR Variable based on the result from our LOBE prediction model. Click the “Add an Action” button, search Variable, and select “Set Variable”

We saw earlier that inputs in Power Automate can be set to dynamic values and outputs from earlier steps. So, in this case we want to set our QR variable to the output from our LOBE model, so under the name drop-down, select the QR Variable we created earlier. Then click in the “Value” input, and from the Dynamics Content list, under “Predict”, select “Prediction”. We will use this value later to create a message

The next step we will take is to save the file to our secure internal OneDrive for Business site. I created a folder on my OneDrive called “COVID Vax Cards”. We must build a path to the file and save it in the Filename variable we created before. Click the “Add an Action” button, search Variable, and select “Set Variable”
For our save filename we need to build a path consisting of the URL to our OneDrive, and a filename. To accomplish that, we now introduce Power Automate expressions. In Power Automate, expressions are a set of simple functions that enable you to return data. Put simpler, you use expressions to write a formula to get your data the way you want it. Expressions allow you to do things like convert a date to UTC, divide two numbers, create that perfect string by combining fields, and much more all by using various functions. Click the drop-down next to the “Name” label, and select the “Filename” variable we created earlier. Then, click in the “Value” input for the variable, and instead of choosing ”Dynamic Content” as we did before, select “Expression”. 
You will see headers for each expression type, and luckily the first one in the list is the one we need, the String “concat” expression, which combines a number of strings into 1 string.

Click it, and you will see the expression pasted into the input box. Now we can use dynamic content just like we did before. We need to build a filename of <firstname><lastname>.png. Click the mouse inside the brackets of the expression as shown, then click the “Dynamic Content” tab.

Scroll down to find the AI Builder “Extract information from forms” value for Last name and click it. NOTE be sure to select “LastName value”, not just “LastName”.
Then, in the Fx input box, scroll all the way to the right, and put a comma after the first input, then find and click the “Firstname value” data item.
The expression should look like this:
concat(outputs(‘Extract_information_from_forms’)?[‘body/responsev2/predictionOutput/labels/LastName/value’],outputs(‘Extract_information_from_forms’)?[‘body/responsev2/predictionOutput/labels/FirstName/value’])
Put another comma after the last ] bracket, and type ‘.png’, so now the expression is:
concat(outputs(‘Extract_information_from_forms’)?[‘body/responsev2/predictionOutput/labels/LastName/value’],outputs(‘Extract_information_from_forms’)?[‘body/responsev2/predictionOutput/labels/FirstName/value’], ‘.png’)
So, for example, if the name on the COVID-19 Card is John Doe, the file name will be JohnDoe.png.
Click OK and the expression will be saved and the component will look like this:

Next, click the “Add an action” button, search OneDrive, and select “OneDrive for Business”, then click “Create File”
If this is your first time connecting to OneDrive you’ll be asked to sign in, and we see the power of the One Microsoft Platform and the integrated security. We can sign in with our account and we are connected!

For the Create file inputs, set it up as shown. By now you should be familiar enough with this that you can do these inputs on your own! Note the Folder Path is the name of the OneDrive for Business folder I created, so use whatever folder name you created on your OneDrive.

Ok we are almost done! The last few steps are:
- See if the QR variable is equal to “QR” for a card with a QR code, or “NoQR” for a card without a QR Code.
- Create simple messages to be emailed to the User, saying something like “The COVID card for <firstname> <lastname> does (does not) have a QR Code
- Send the message to the User, along with the information from the card extracted by our AI Builder model.
Here is a screen of what those last few steps should look like, as an exercise try to create these steps yourself!

So, let’s see the Automation actually run! To do so, first click Save (1) – I hope you’ve been saving all along! – , then after the save is complete, click Test (2).

When you click Test, you will see the screen shown below. Select the “Manually” radio button, then click Test.

When you see this screen with the Spinner, you can test the Automation by simply opening Outlook, creating a new email, attaching a COVID card and sending. Note: Be sure to set the Subject to “COVID Vaccination Card” as this is the filter the Automation flow looks for and be sure to send the email to the Account the Automation is running under, in this case, Administrator.

When the flow successfully runs, your screen will look like this:

And the automated flow sends an email with the information:

And lastly, the COVID Vaccination Card for John Doe is stored to the secure OneDrive for Business.

So, to sum up the value we have seen for our customers, there are several key points.
- Everything we saw is functionality included with the Power Platform and/or Microsoft 365. One Microsoft!
- Every step could be performed by Citizen Developers and/or a Fusion Team (I.e. Citizen Developers and Professional Developers)
- We saw how automations can remove administrative tasks such as processing incoming documents via emails from human workers, freeing our high-value humans to perform work that takes decision making and creative thought
I hope you enjoyed this example and article and please share any feedback you have either in the comments below or in our AI Builder forum.