Building flows from scratch that handle Microsoft Forms responses


When working with Microsoft Flow, you may notice that some services are faster than others at triggering flows. This depends on how the individual service publishes events to Microsoft Flow. Until last week, Microsoft Forms, for example, would notify your flows once-an-hour about new survey responses. We shared some details about this last month, and promised that it would be resolved in mid-October. We have now improved this, so rather than waiting an hour for new data, form responses appear in Microsoft Flow nearly instantaneously (under a minute).
We have already updated the Microsoft Forms templates to take advantage of this new, faster trigger, but you can also build flows from scratch that take advantage of this behavior.
Building the trigger
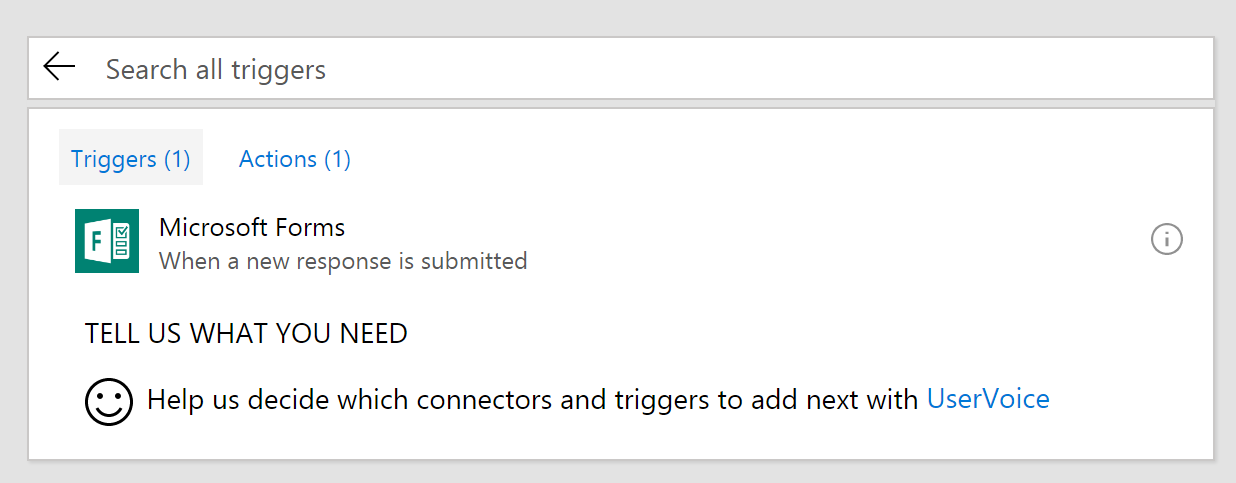
To get started with a flow that is triggered from Microsoft Forms, select Create from blank on your My Flows page. Then, select Search hundreds of connectors at the bottom of the screen. This will give you a list of the 170+ different triggers that Microsoft Flow supports. Search for Microsoft Forms to find the right trigger:
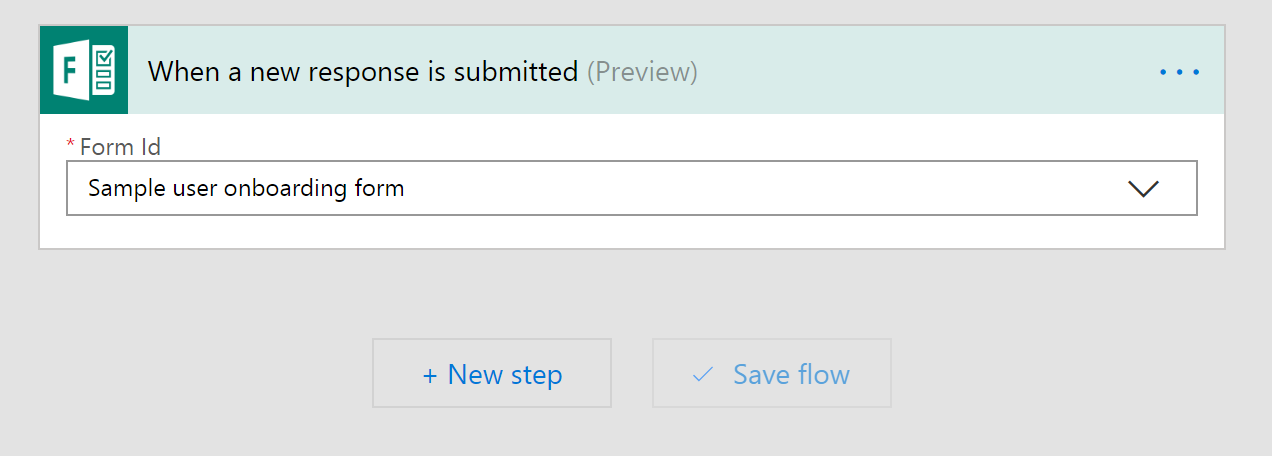
Once you have selected the trigger, you will need to pick which form you want to start this flow. Select the dropdown under Form Id and you should see a list of all of the forms that you have created (you need to create the form before you can use it in a flow).
Now you have set up the trigger. However, in order to be able to use the data inside of your flow, you now need to add a new action.
Getting the response data
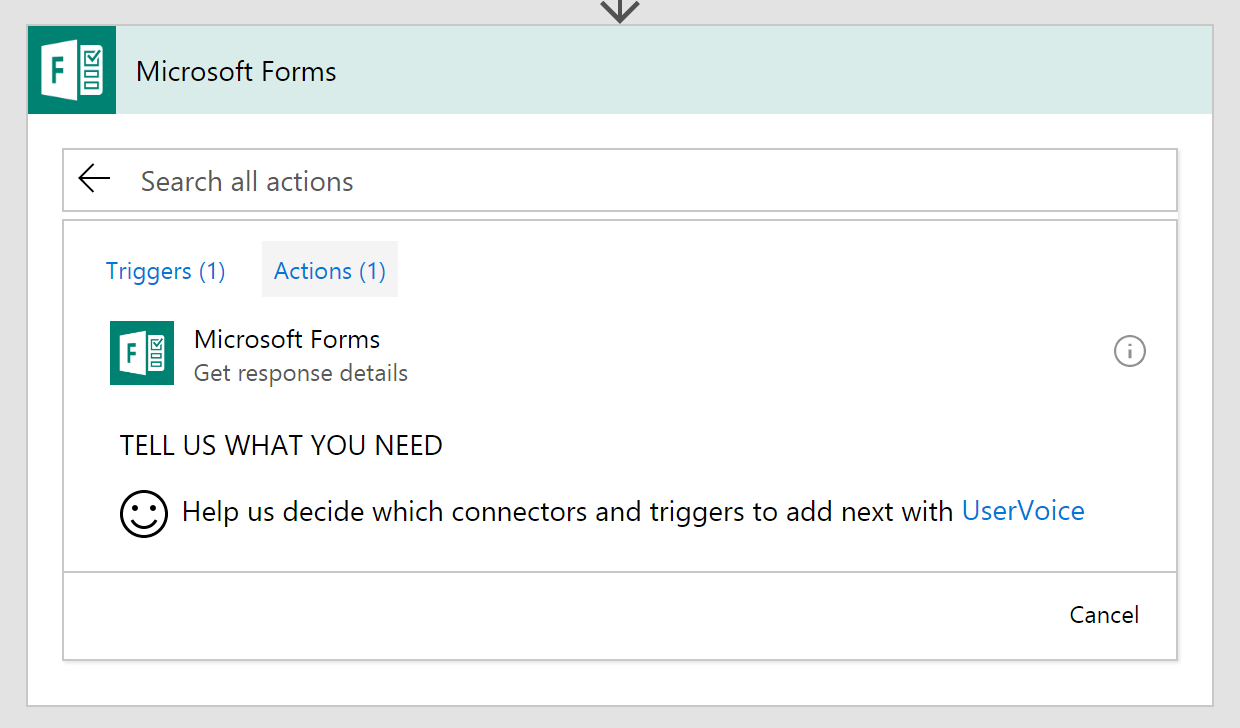
If all you want is a notification that there has been a response, you don't need to actually get the data that was submitted in the form. However, if you want to save the response data somewhere else, such as in a SharePoint list or a spreadsheet, you'll need to add a new action. To find the action, select New step, Add an action and then search for Microsoft Forms. You will see the action Get response details.
On this action, you'll need to select the same Form Id that you used in the trigger. Then, click in the Response Id text box, you'll see the Dynamic content menu pop up:
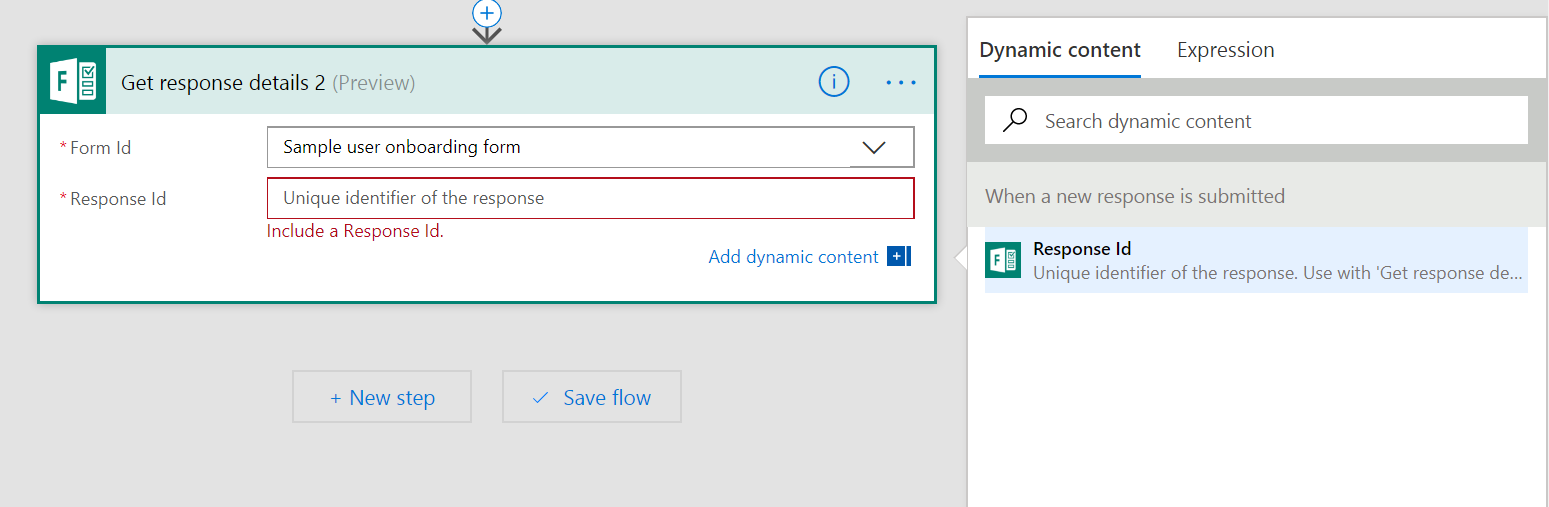
In the Dynamic Content you'll have one option: Response Id. Select this option — this means that you'll get the response details for the responses that caused the trigger. There can be more than one response at the same time, so the Response Id actually represents a list of responses. As a result, when you select this input you'll get an Apply to each added around this action.
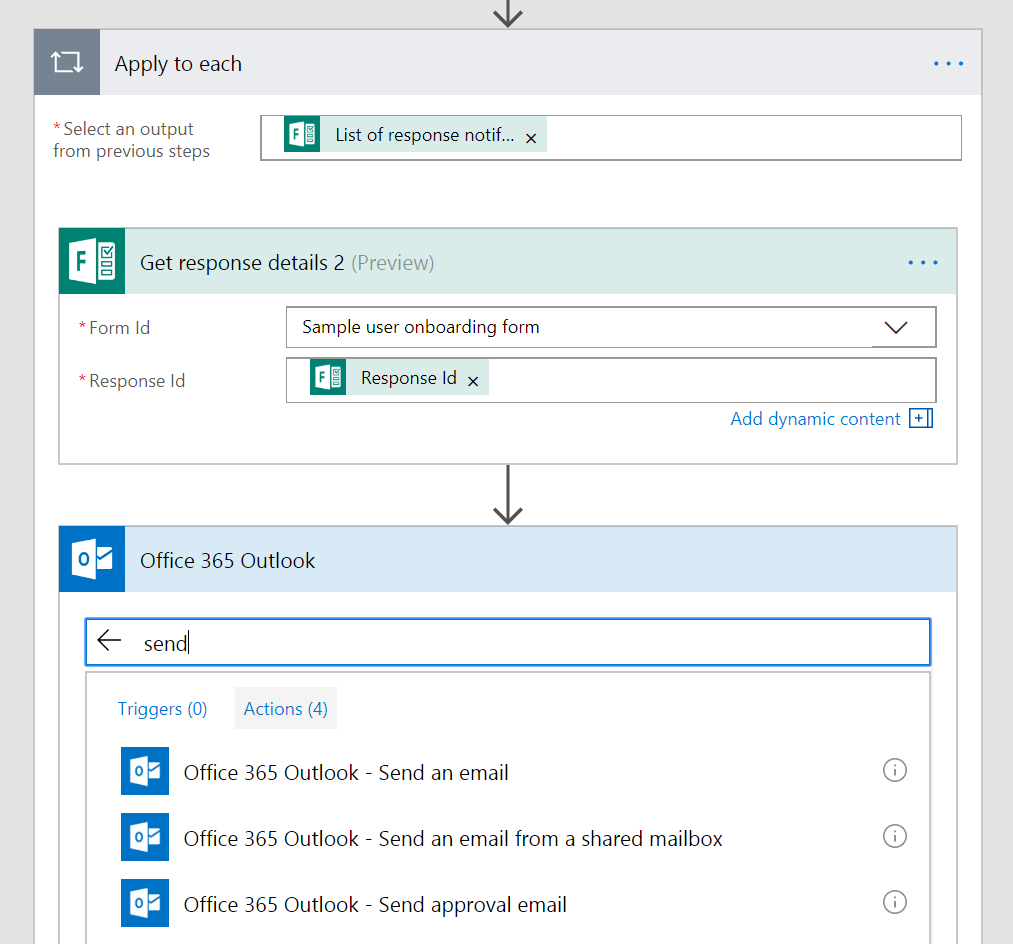
Adding other actions
Any actions you have after the Get response details action should be inside of that same Apply to each container. For example, you can add the Send an email action:
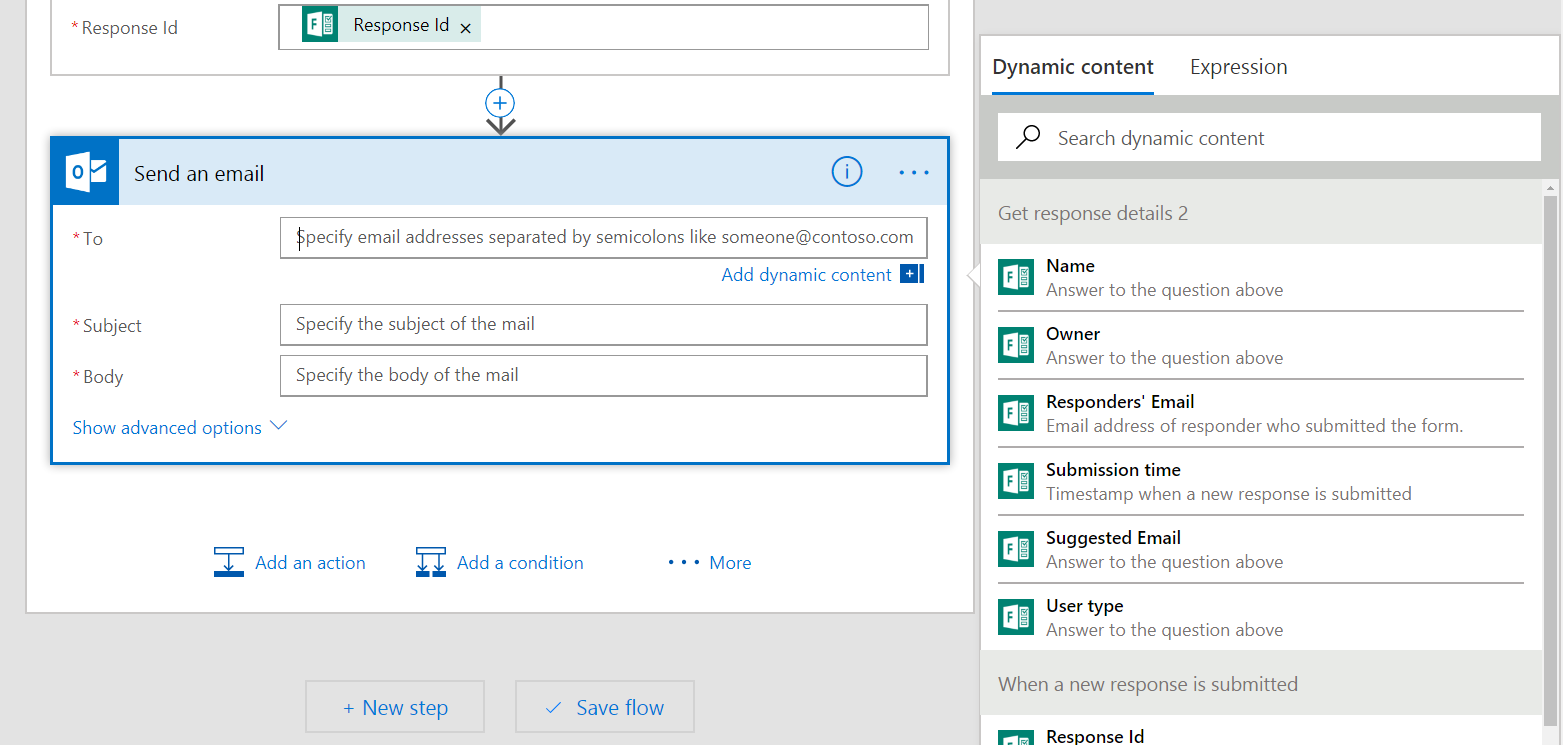
Now, when you configure this action you should see the Add dynamic content menu appear and you will see the list of each of the fields that your form has. Use these fields to fill out an email, add data to a spreadsheet, or any of the hundreds of different actions that Microsoft Flow supports!
As a final note, if you have previously built any flows that use Microsoft Forms, you will have to re-build them using the above pattern to take advantage of the new trigger.